MACHINING.

Machining
If you can imagine it, we
can make it
Creating parts
Machining solutions
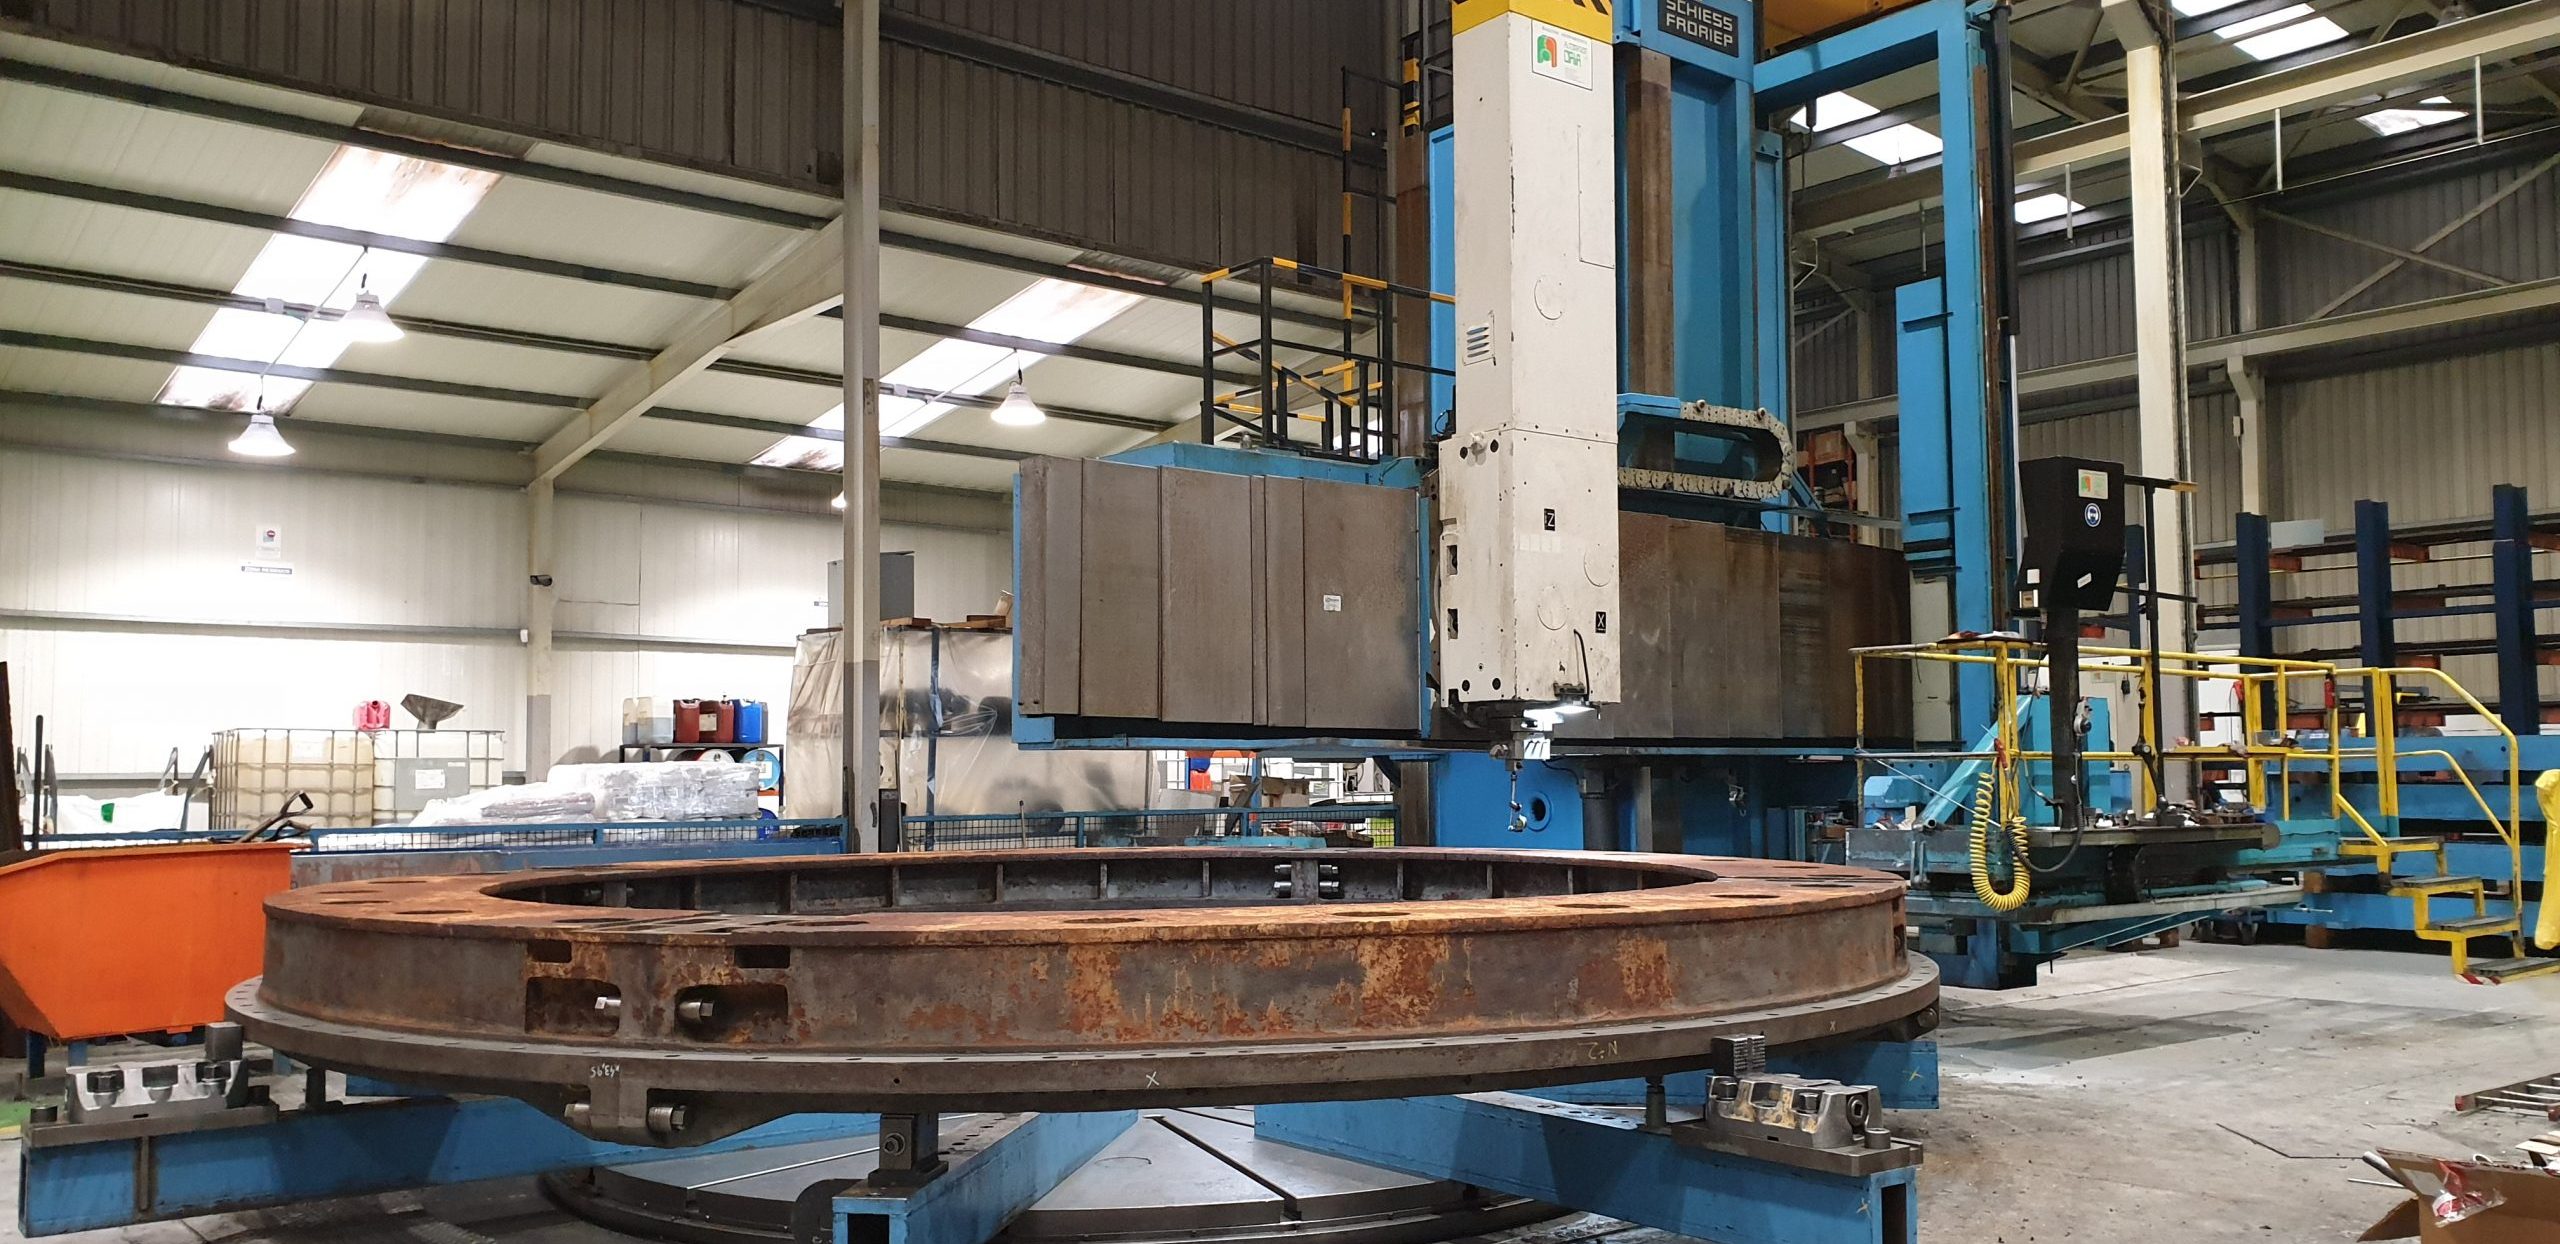
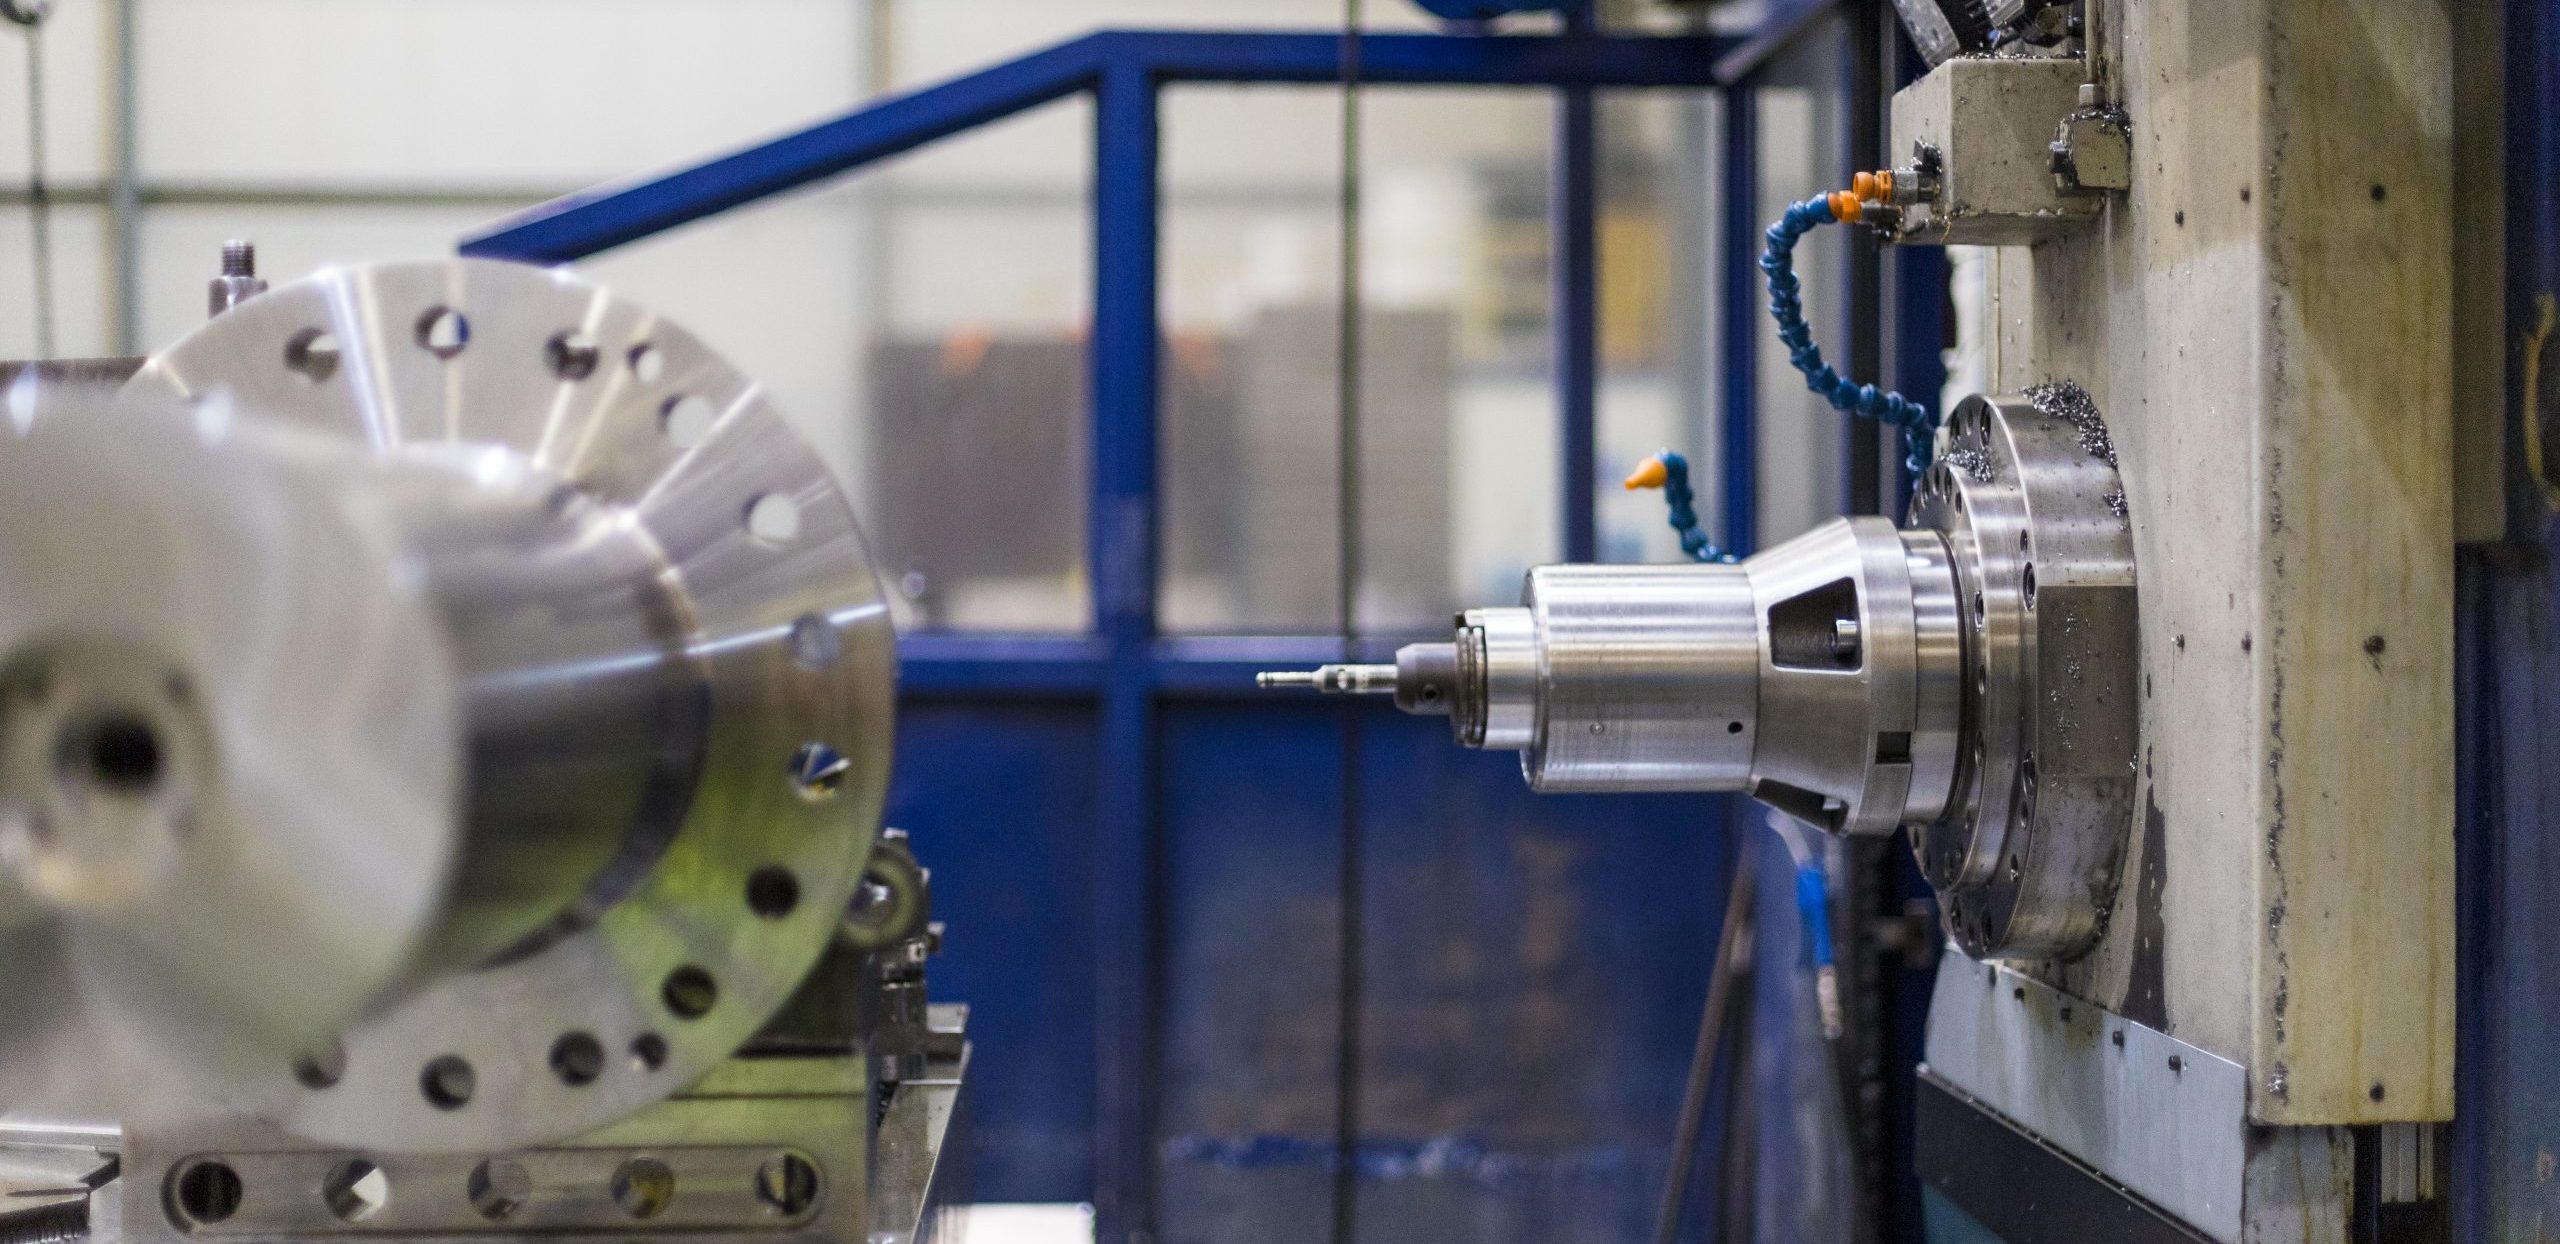
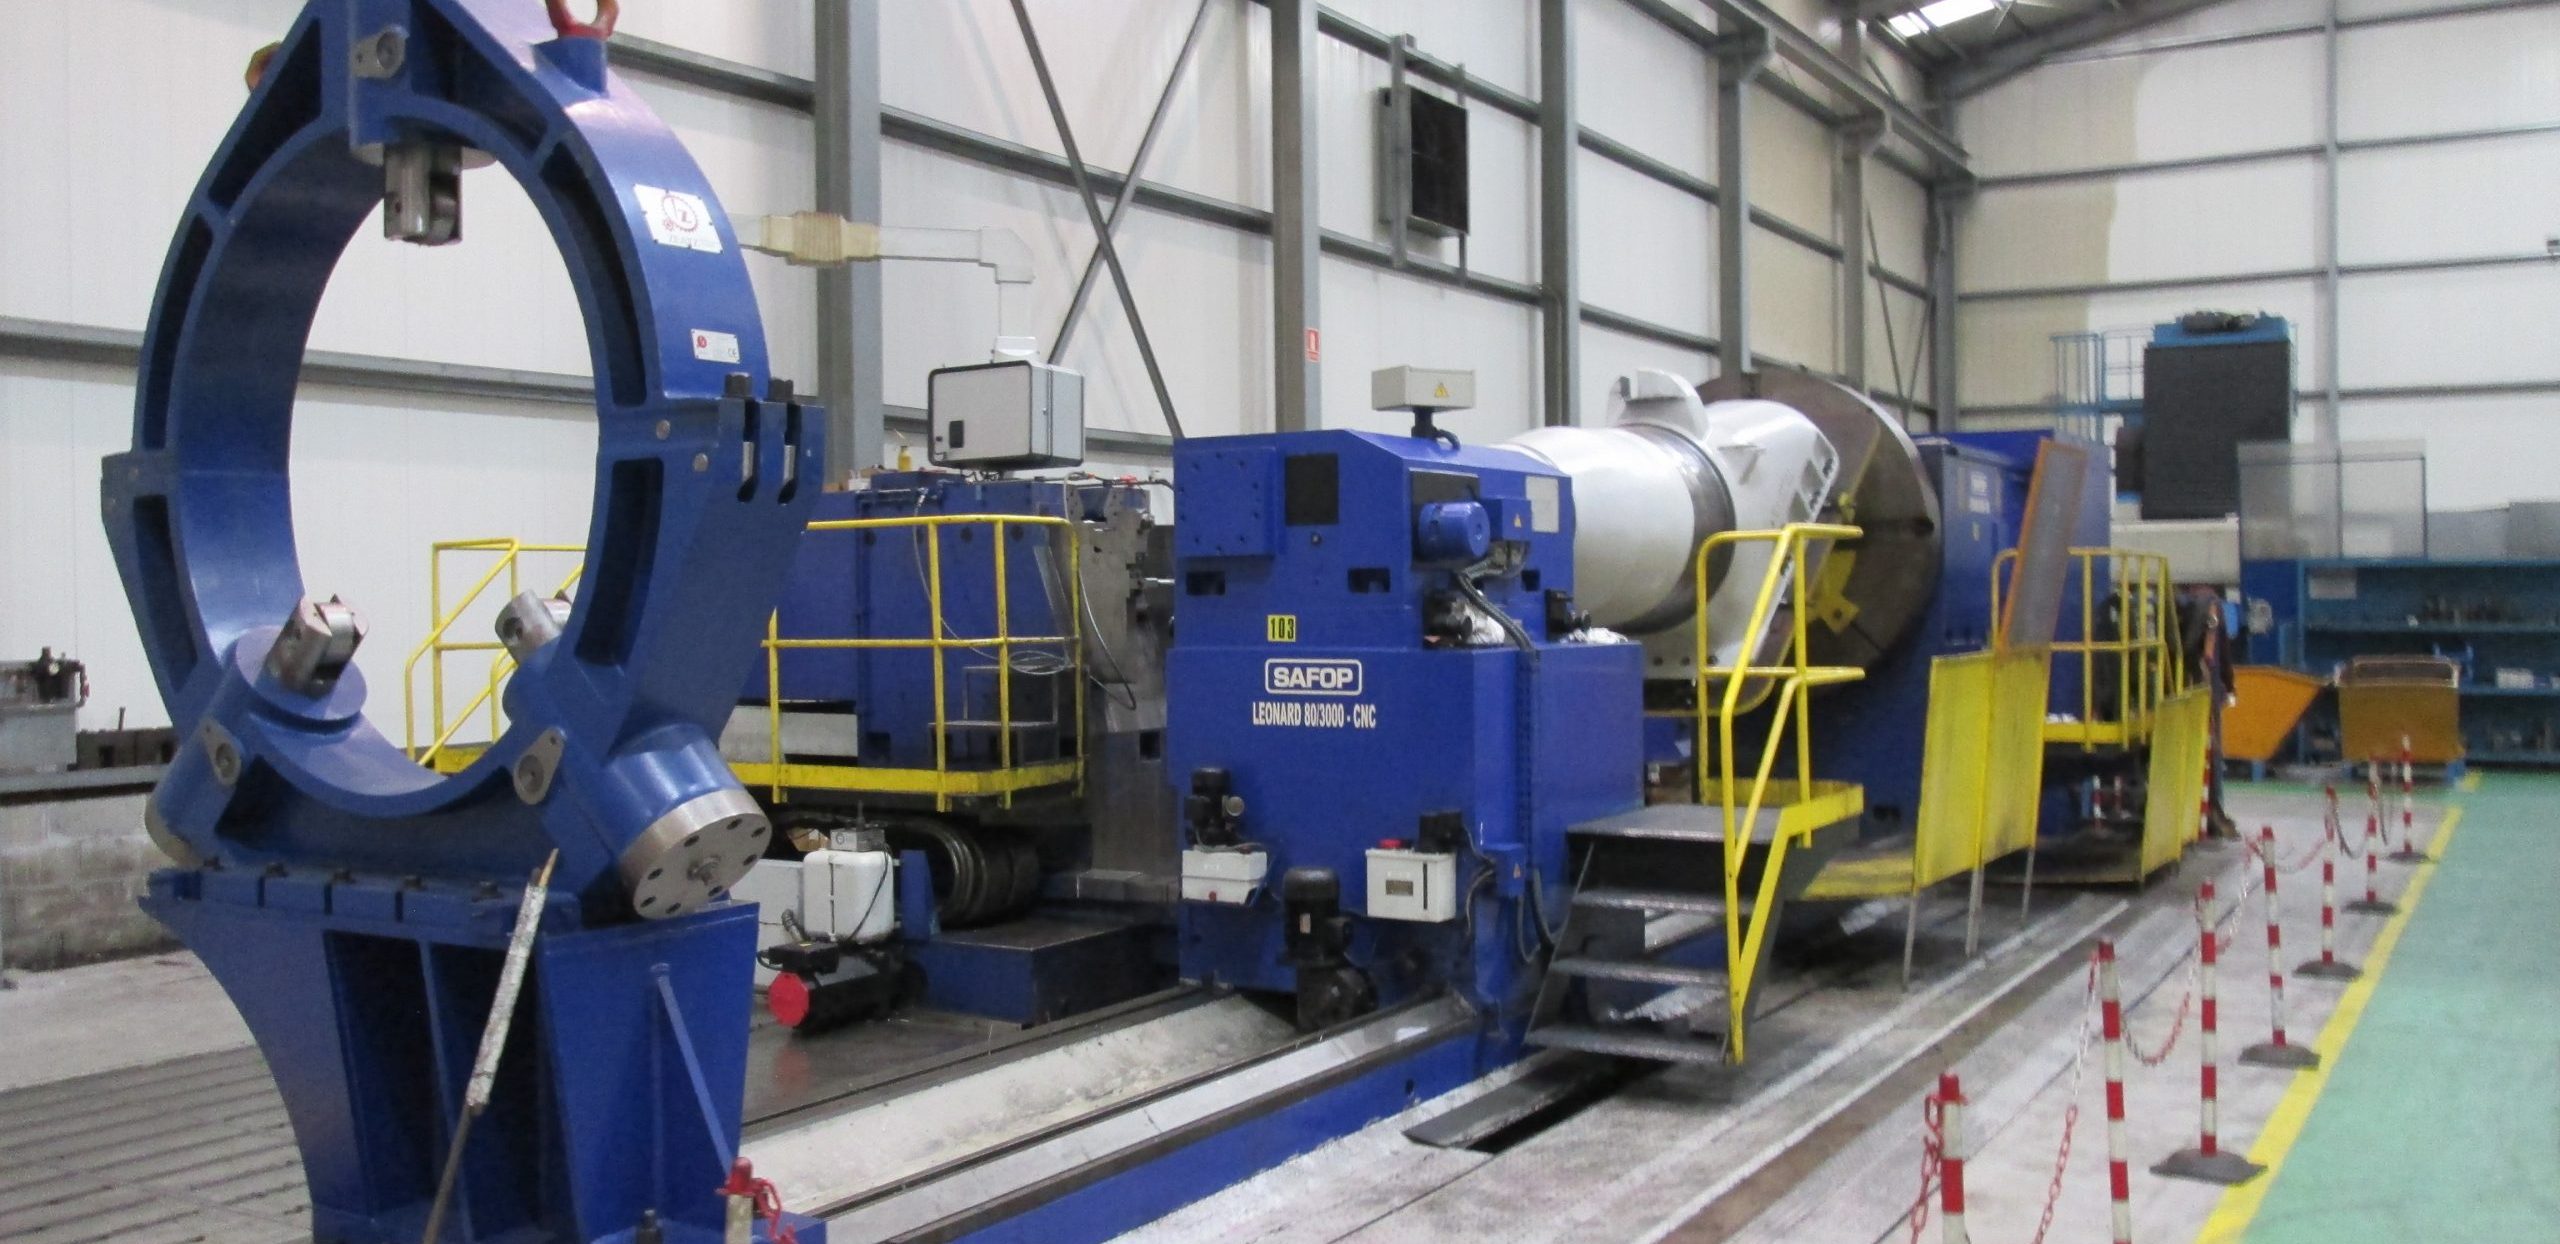
One of the strategic lines of ACEBRON GROUP in recent years has been orientating machining solutions towards machining large and very precise parts, machining complex geometries and all types of materials. Trust in our many years of experience and competence, with which we bring different metals into almost any desired shape with absolute precision. Depending on the application, we process small to large workpieces, turning, drilling, milling and grinding them with the highest precision and meticulous accuracy.
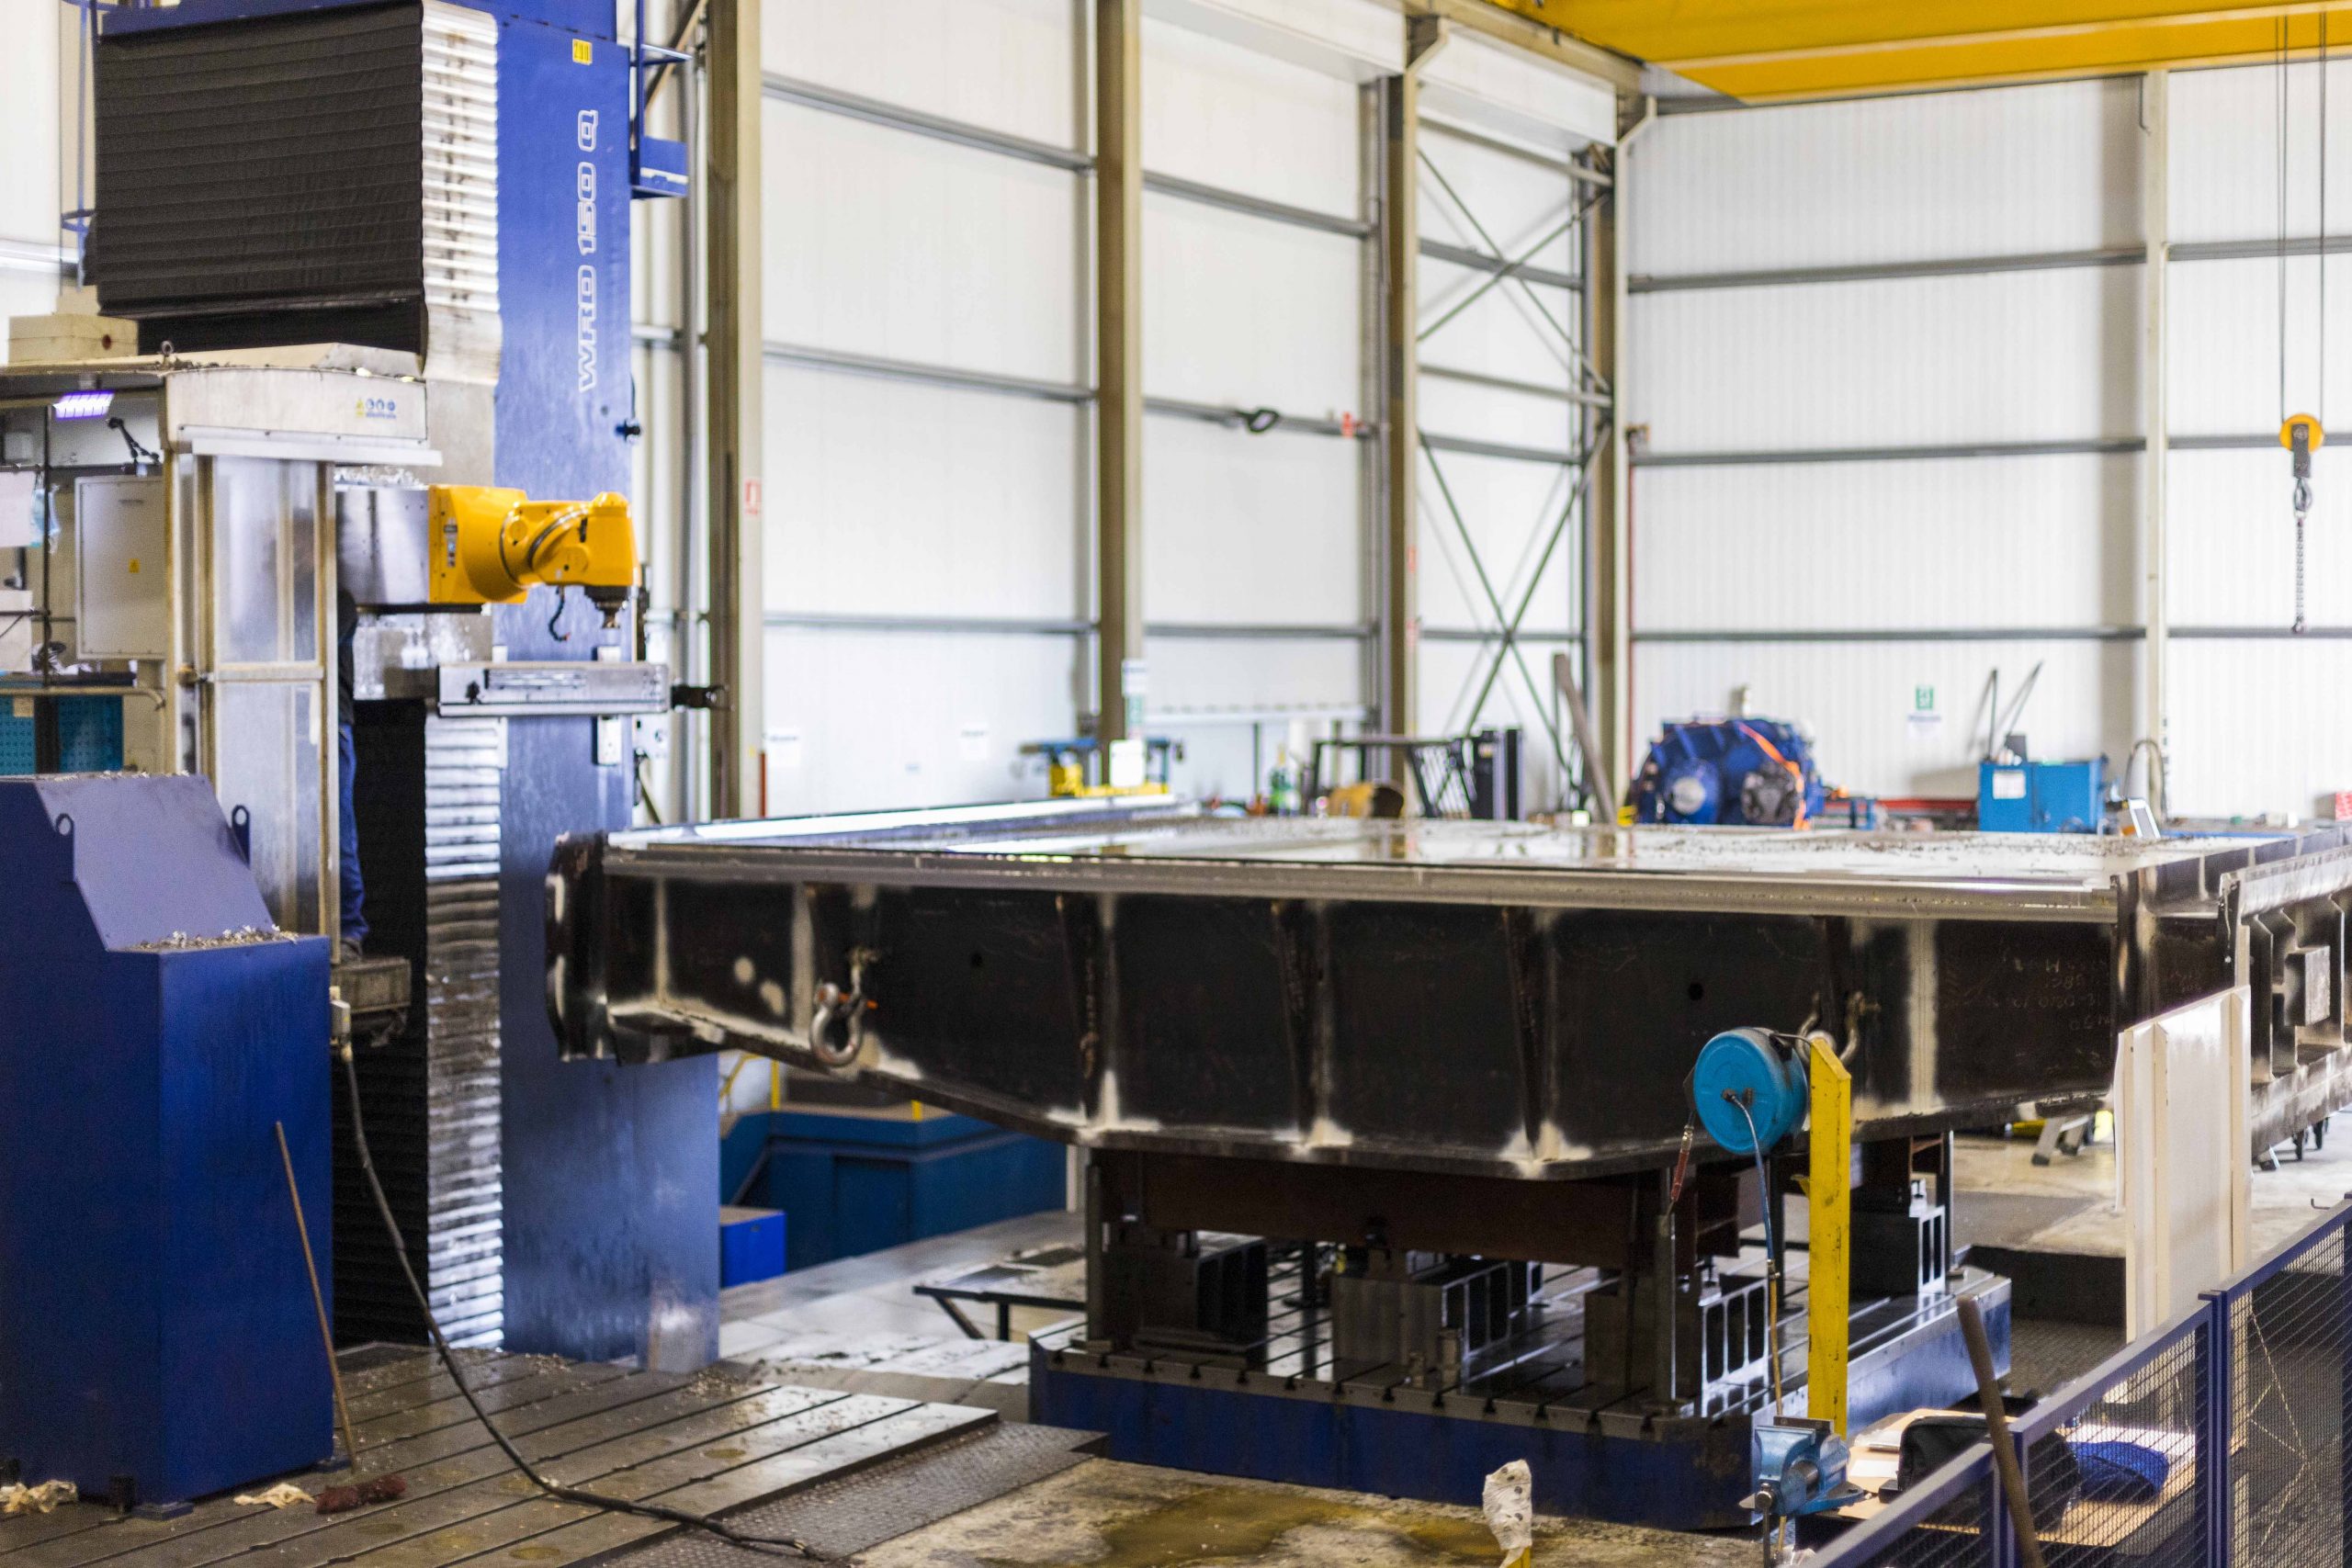
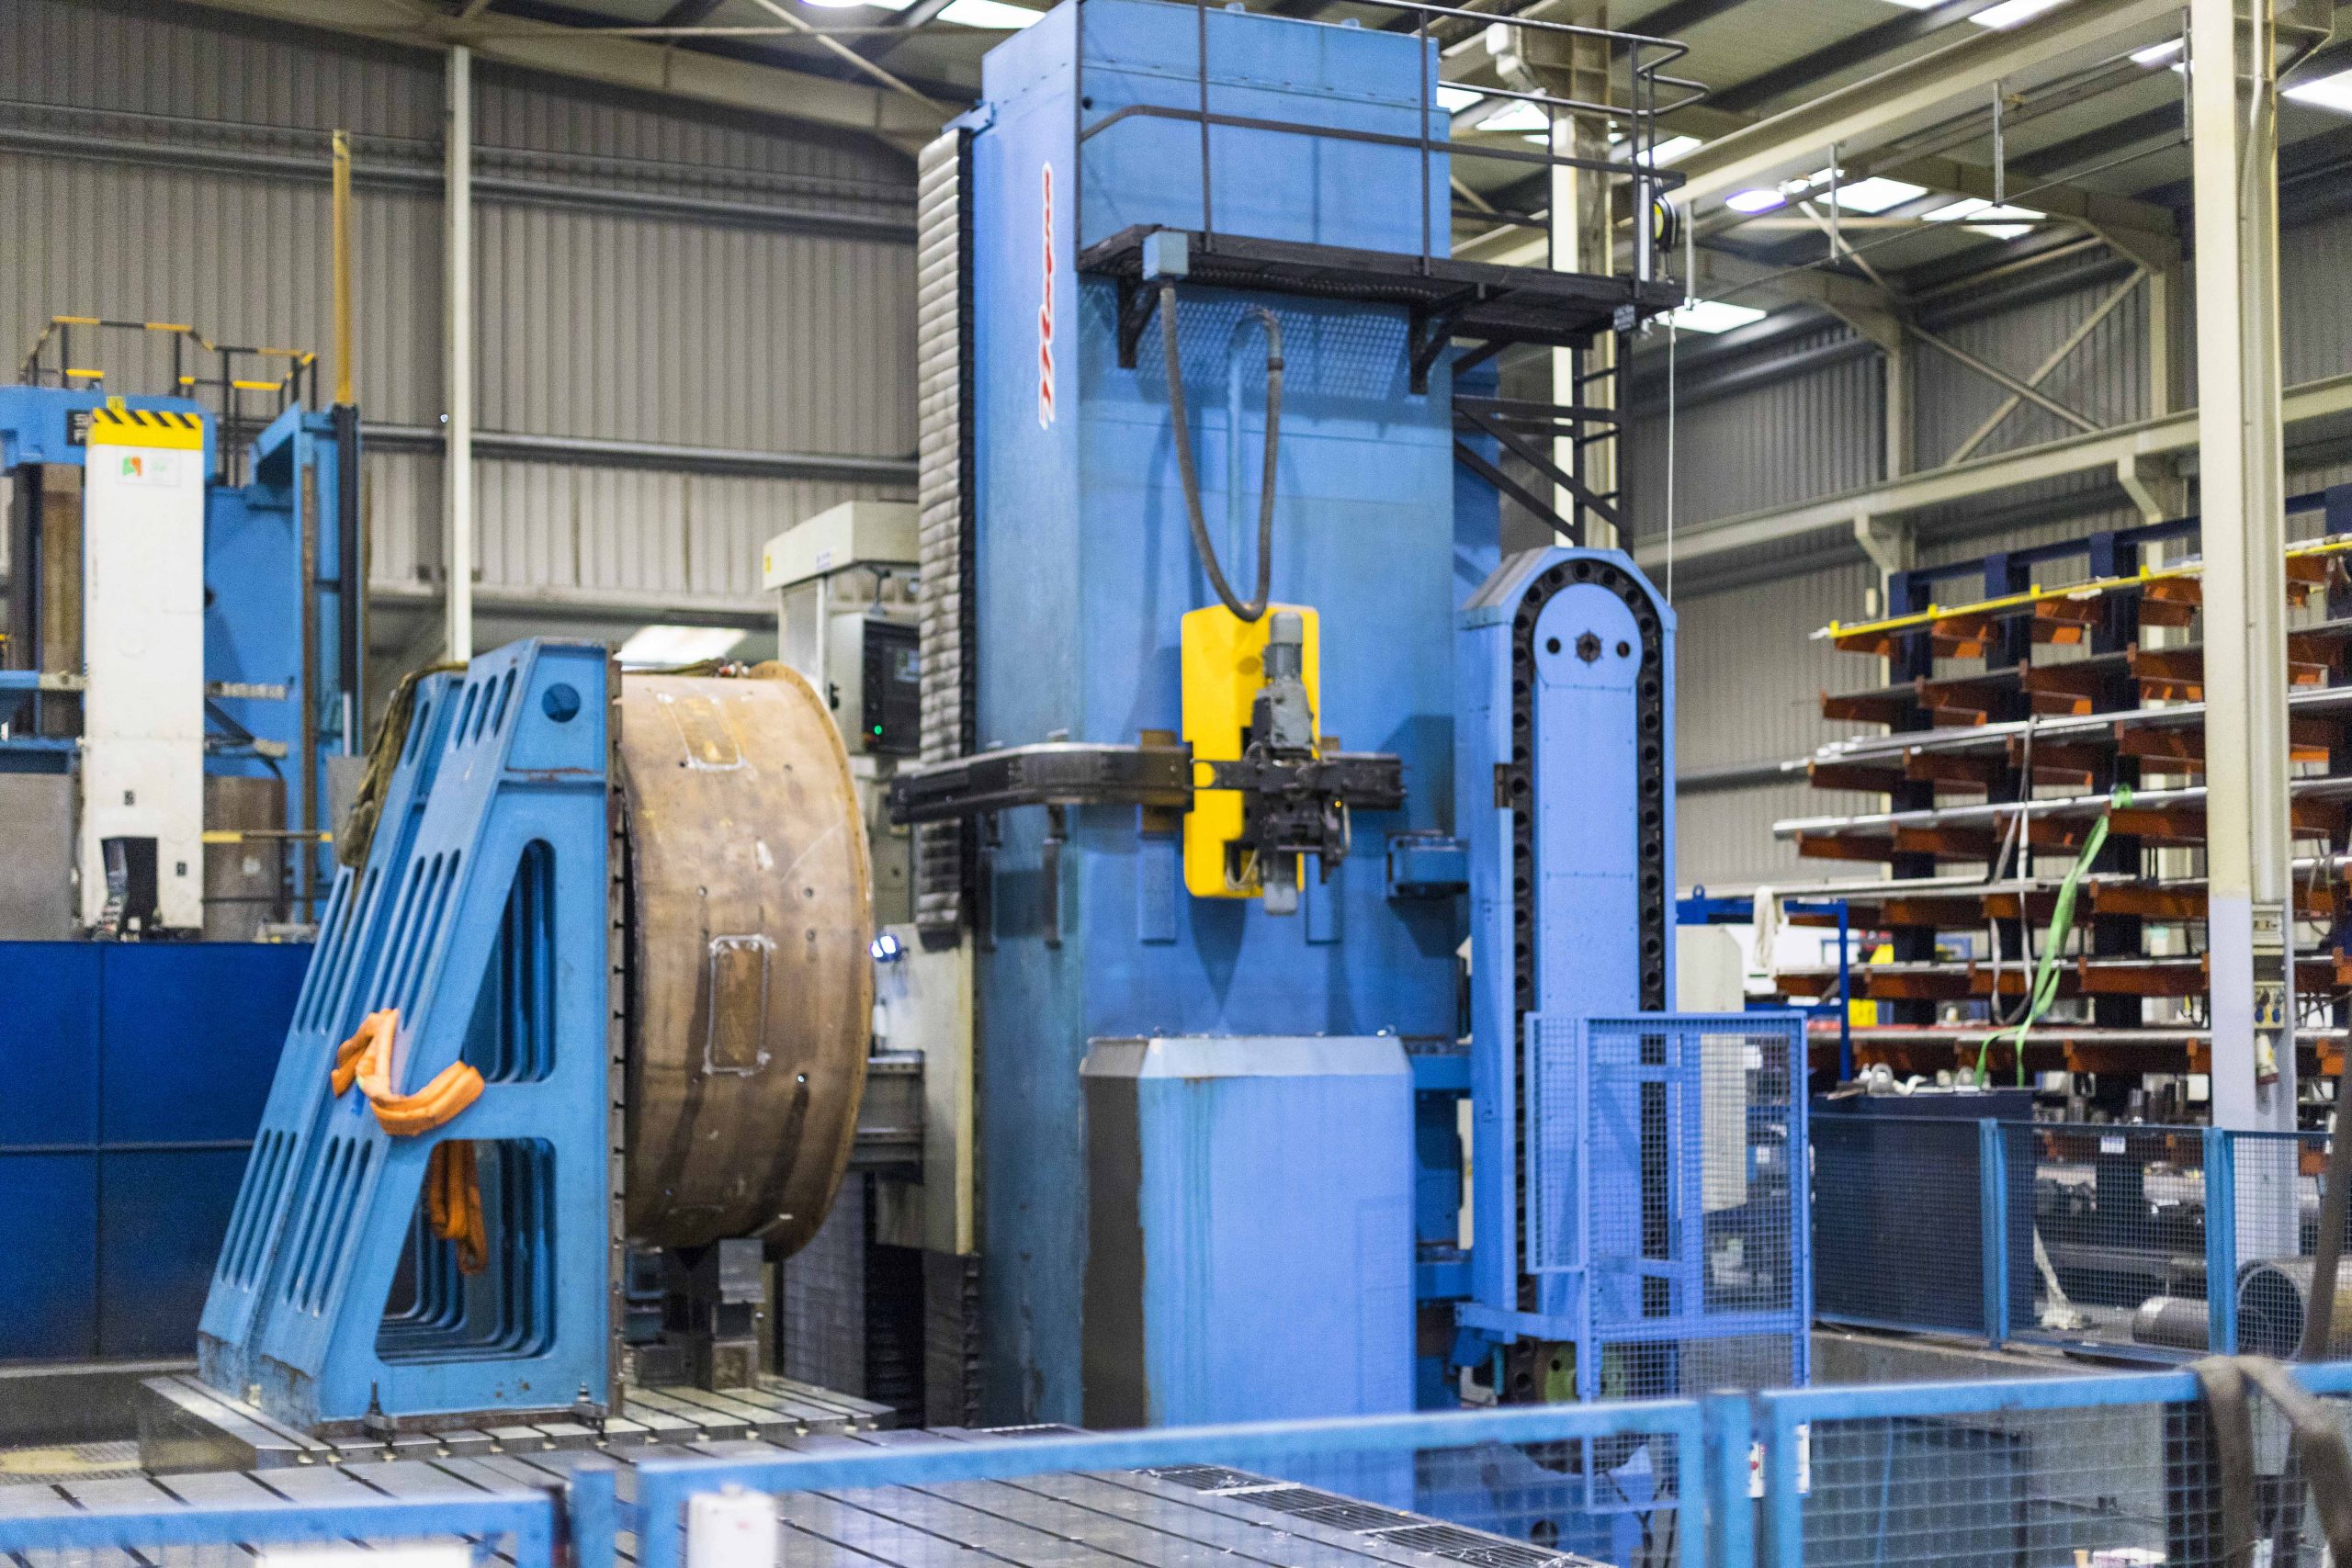
machining.
Using the latest technology
Innovation
Machining services
We offer not only reliable services, but also a complete package, in which we also plan, manufacture, assemble and deliver the necessary machinery ready for operation. We also have the capacity and means to take over the complete project management and ensure that everything runs smoothly from the very beginning.
Our machines are connected via industrial communications software with our technical department, which allows us to obtain critical process information for subsequent operation, and to send CAM programs.
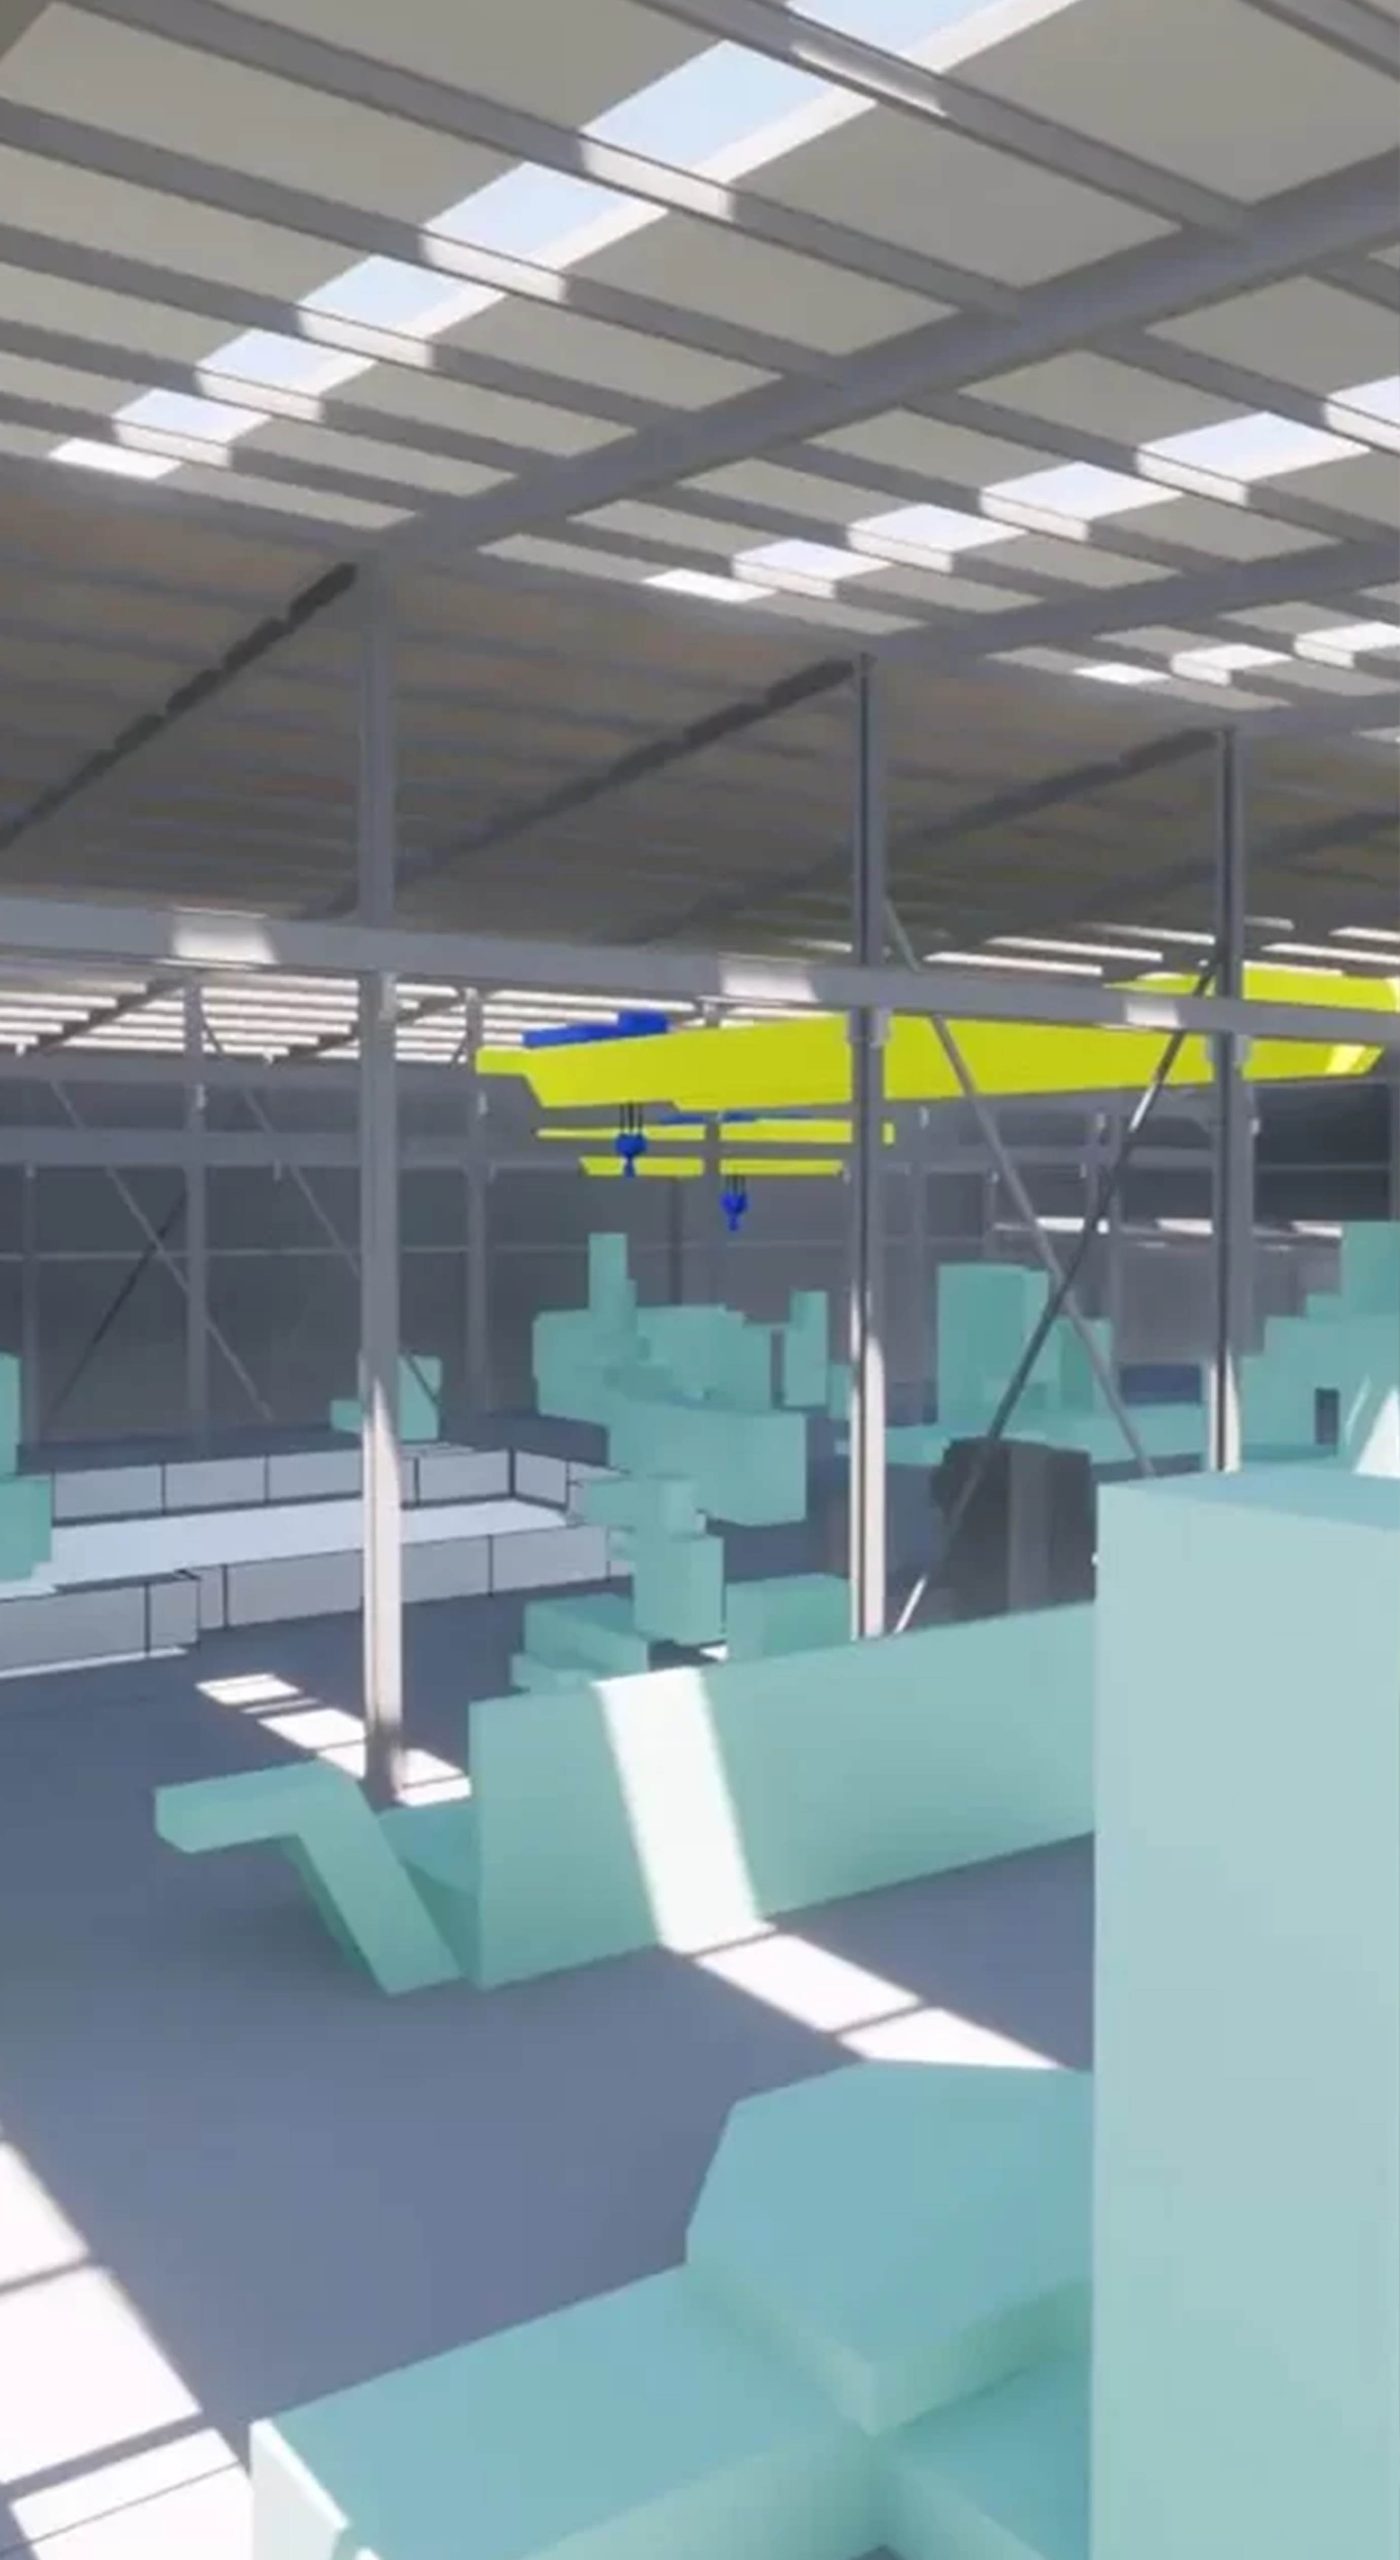
We also use the latest technology in CAM programming, carrying out machining simulations that allow us to guarantee success in the most demanding machining processes.
MACHINING.
Our seal of quality
Processes
Machining parts
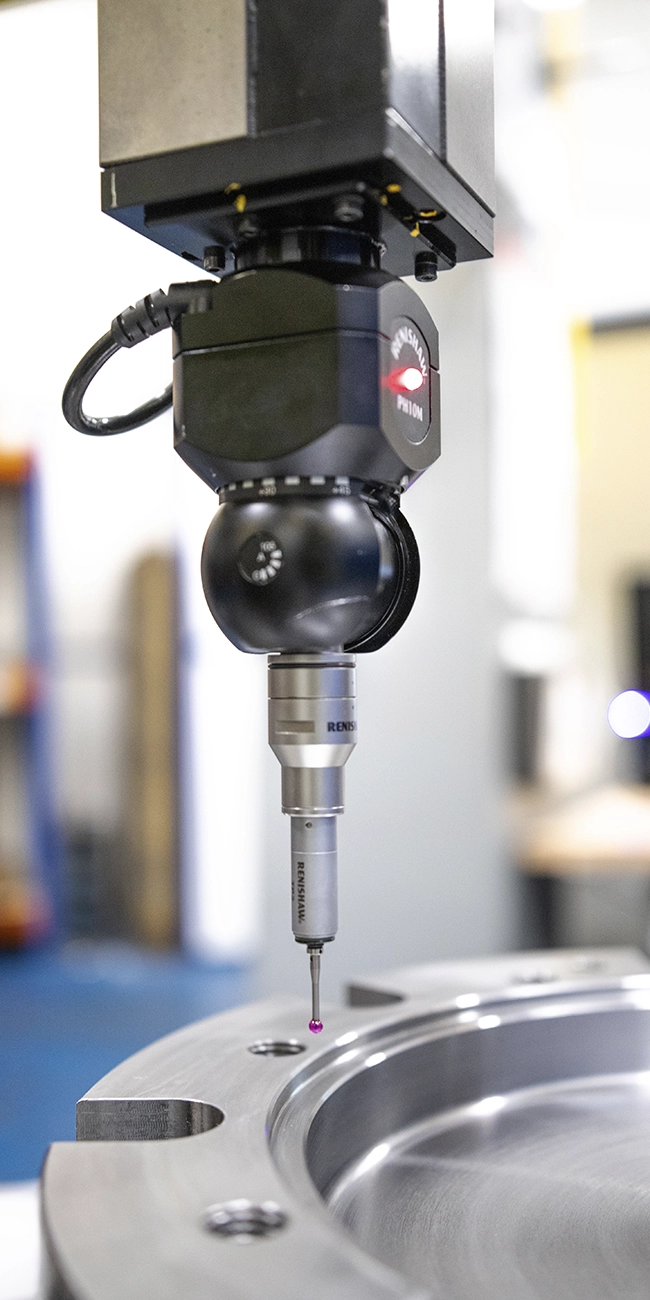
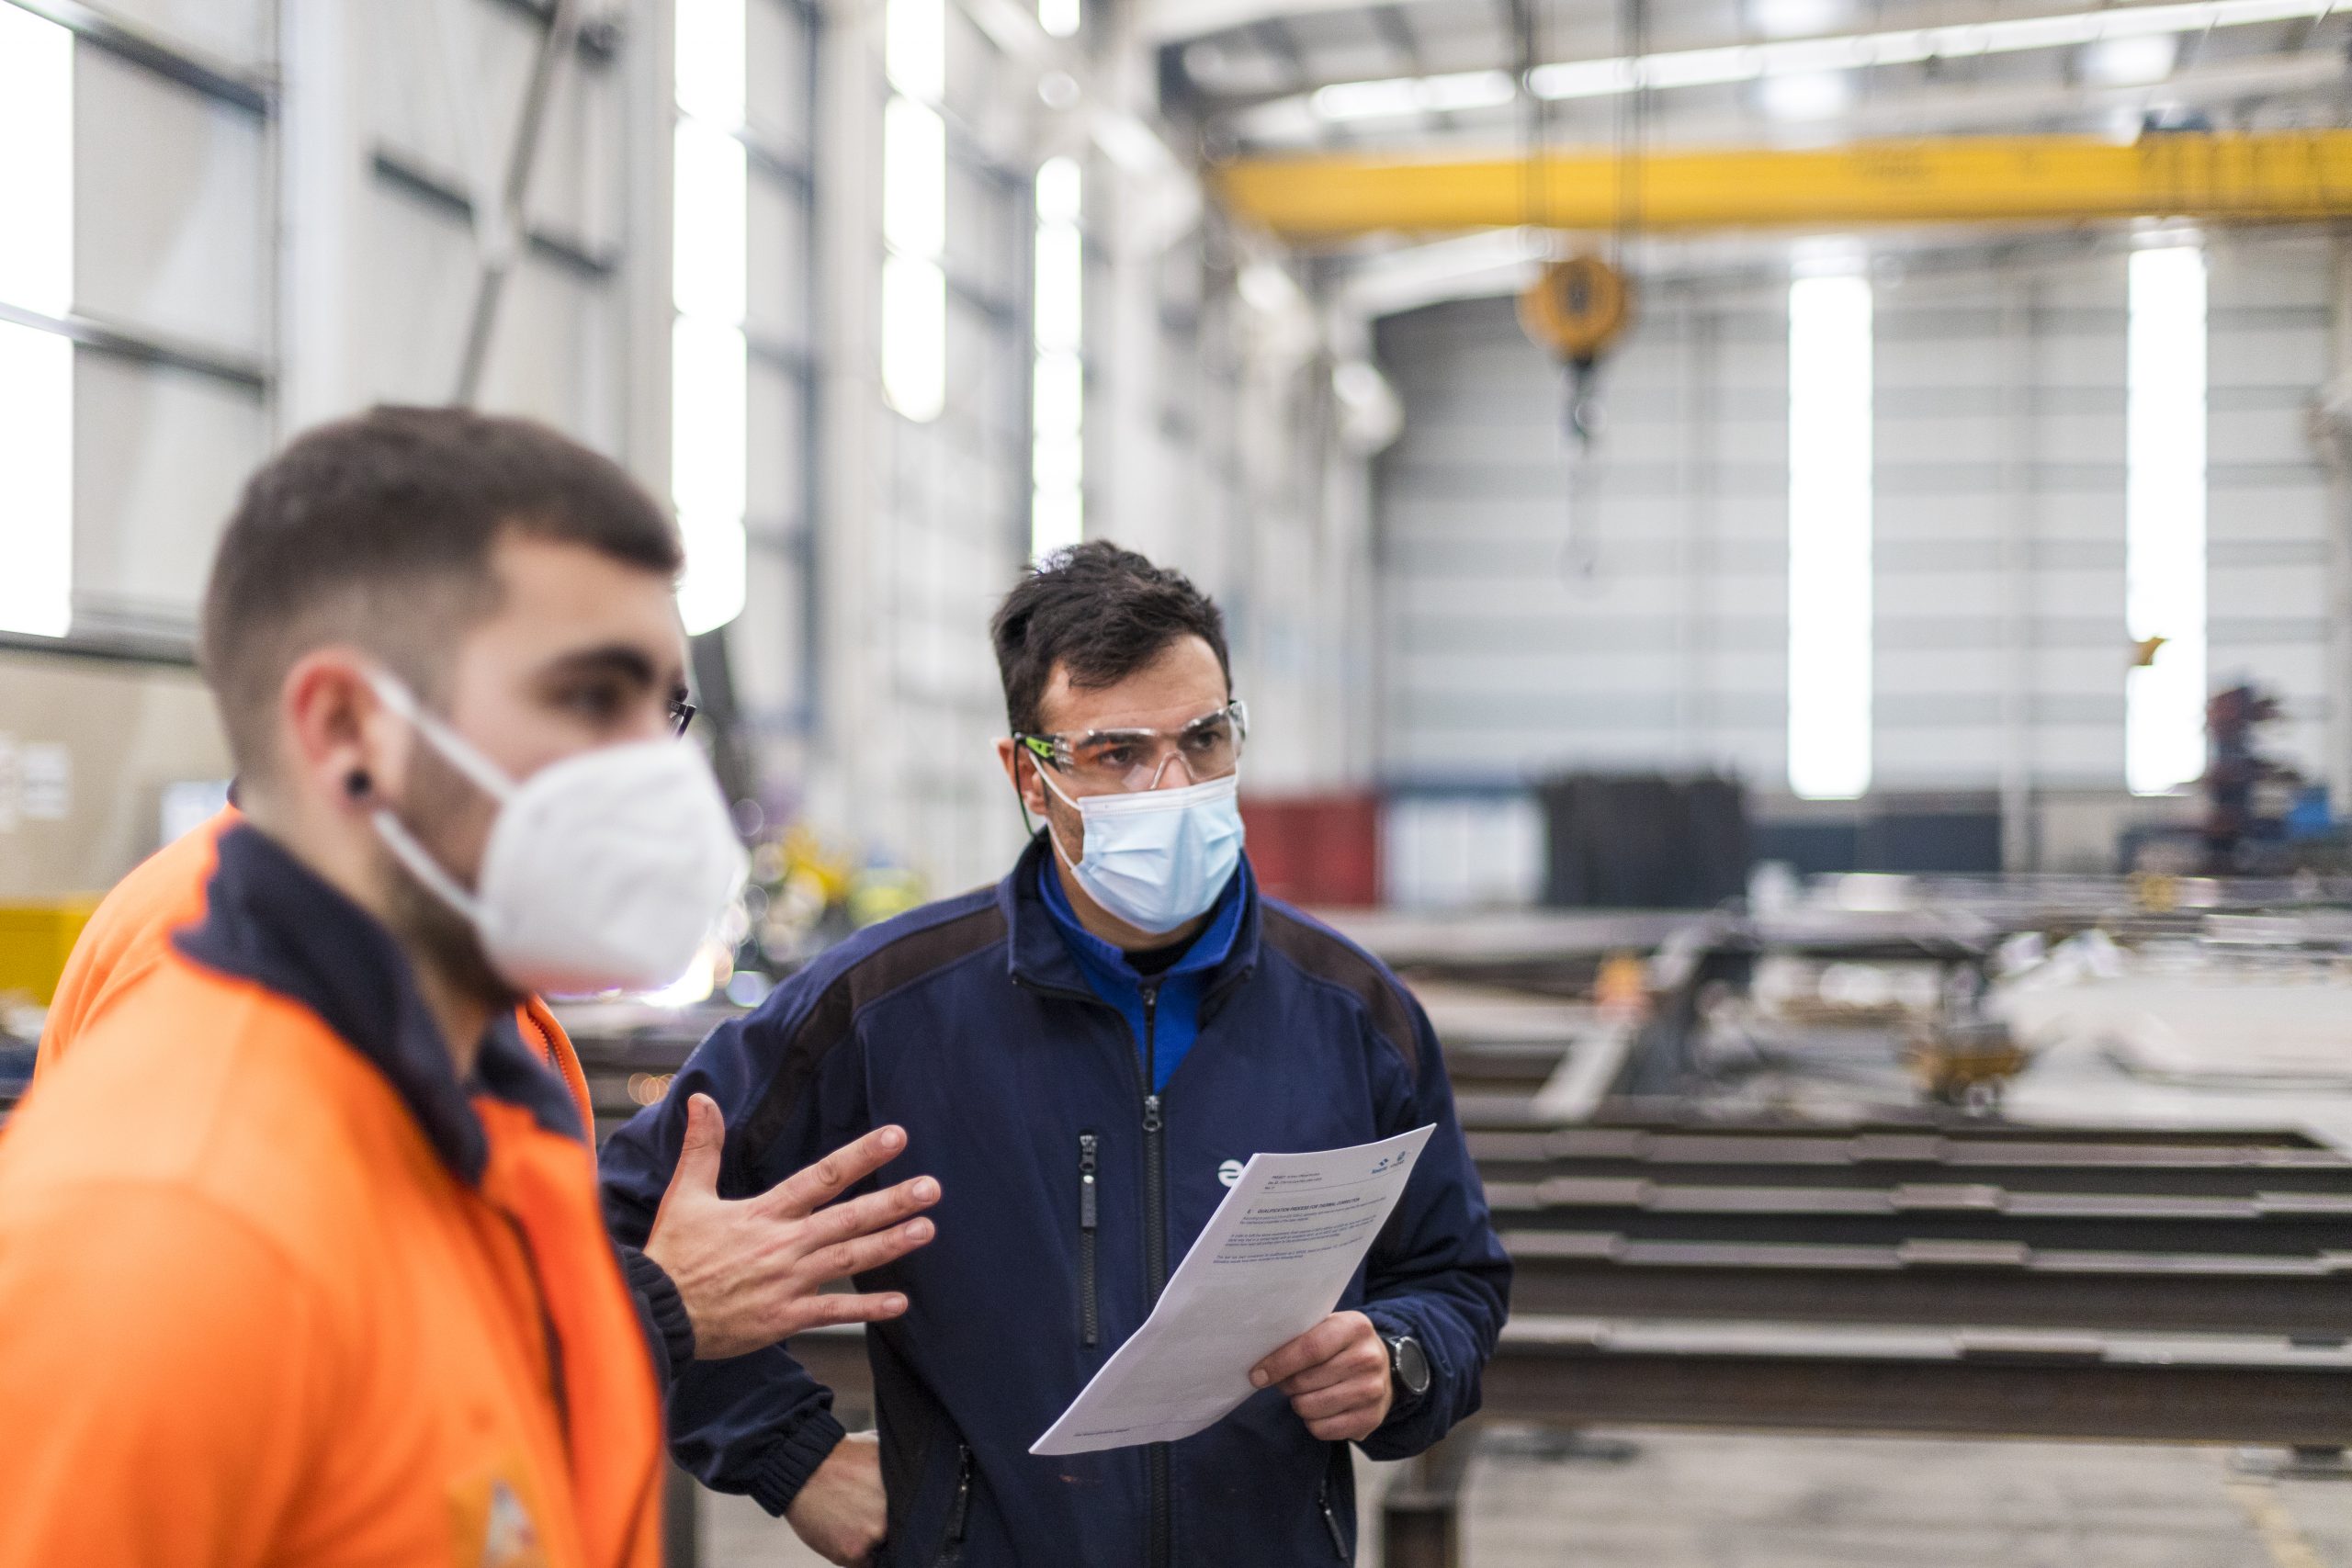
When machining large parts to the nearest hundredth of a millimetre, it is essential to ensure quality and to have a controlled and stable process. That is the reason why our workshops are acclimatised to work with a monitored temperature, and we have all the high-precision measuring tools that are necessary to guarantee the measurements of the machined parts.
In addition to the self-monitoring carried out by the operators with the manual measuring equipment and the machines themselves, the parts are monitored by the metrology department with three-dimensional technology using the Laser Tracker or the 3D coordinate measuring equipment.
Our metrology department has a calibration bench to check the correct calibration of our manual measuring equipment, as well as a Calibration Tool to ensure the accuracy of our machining processes.
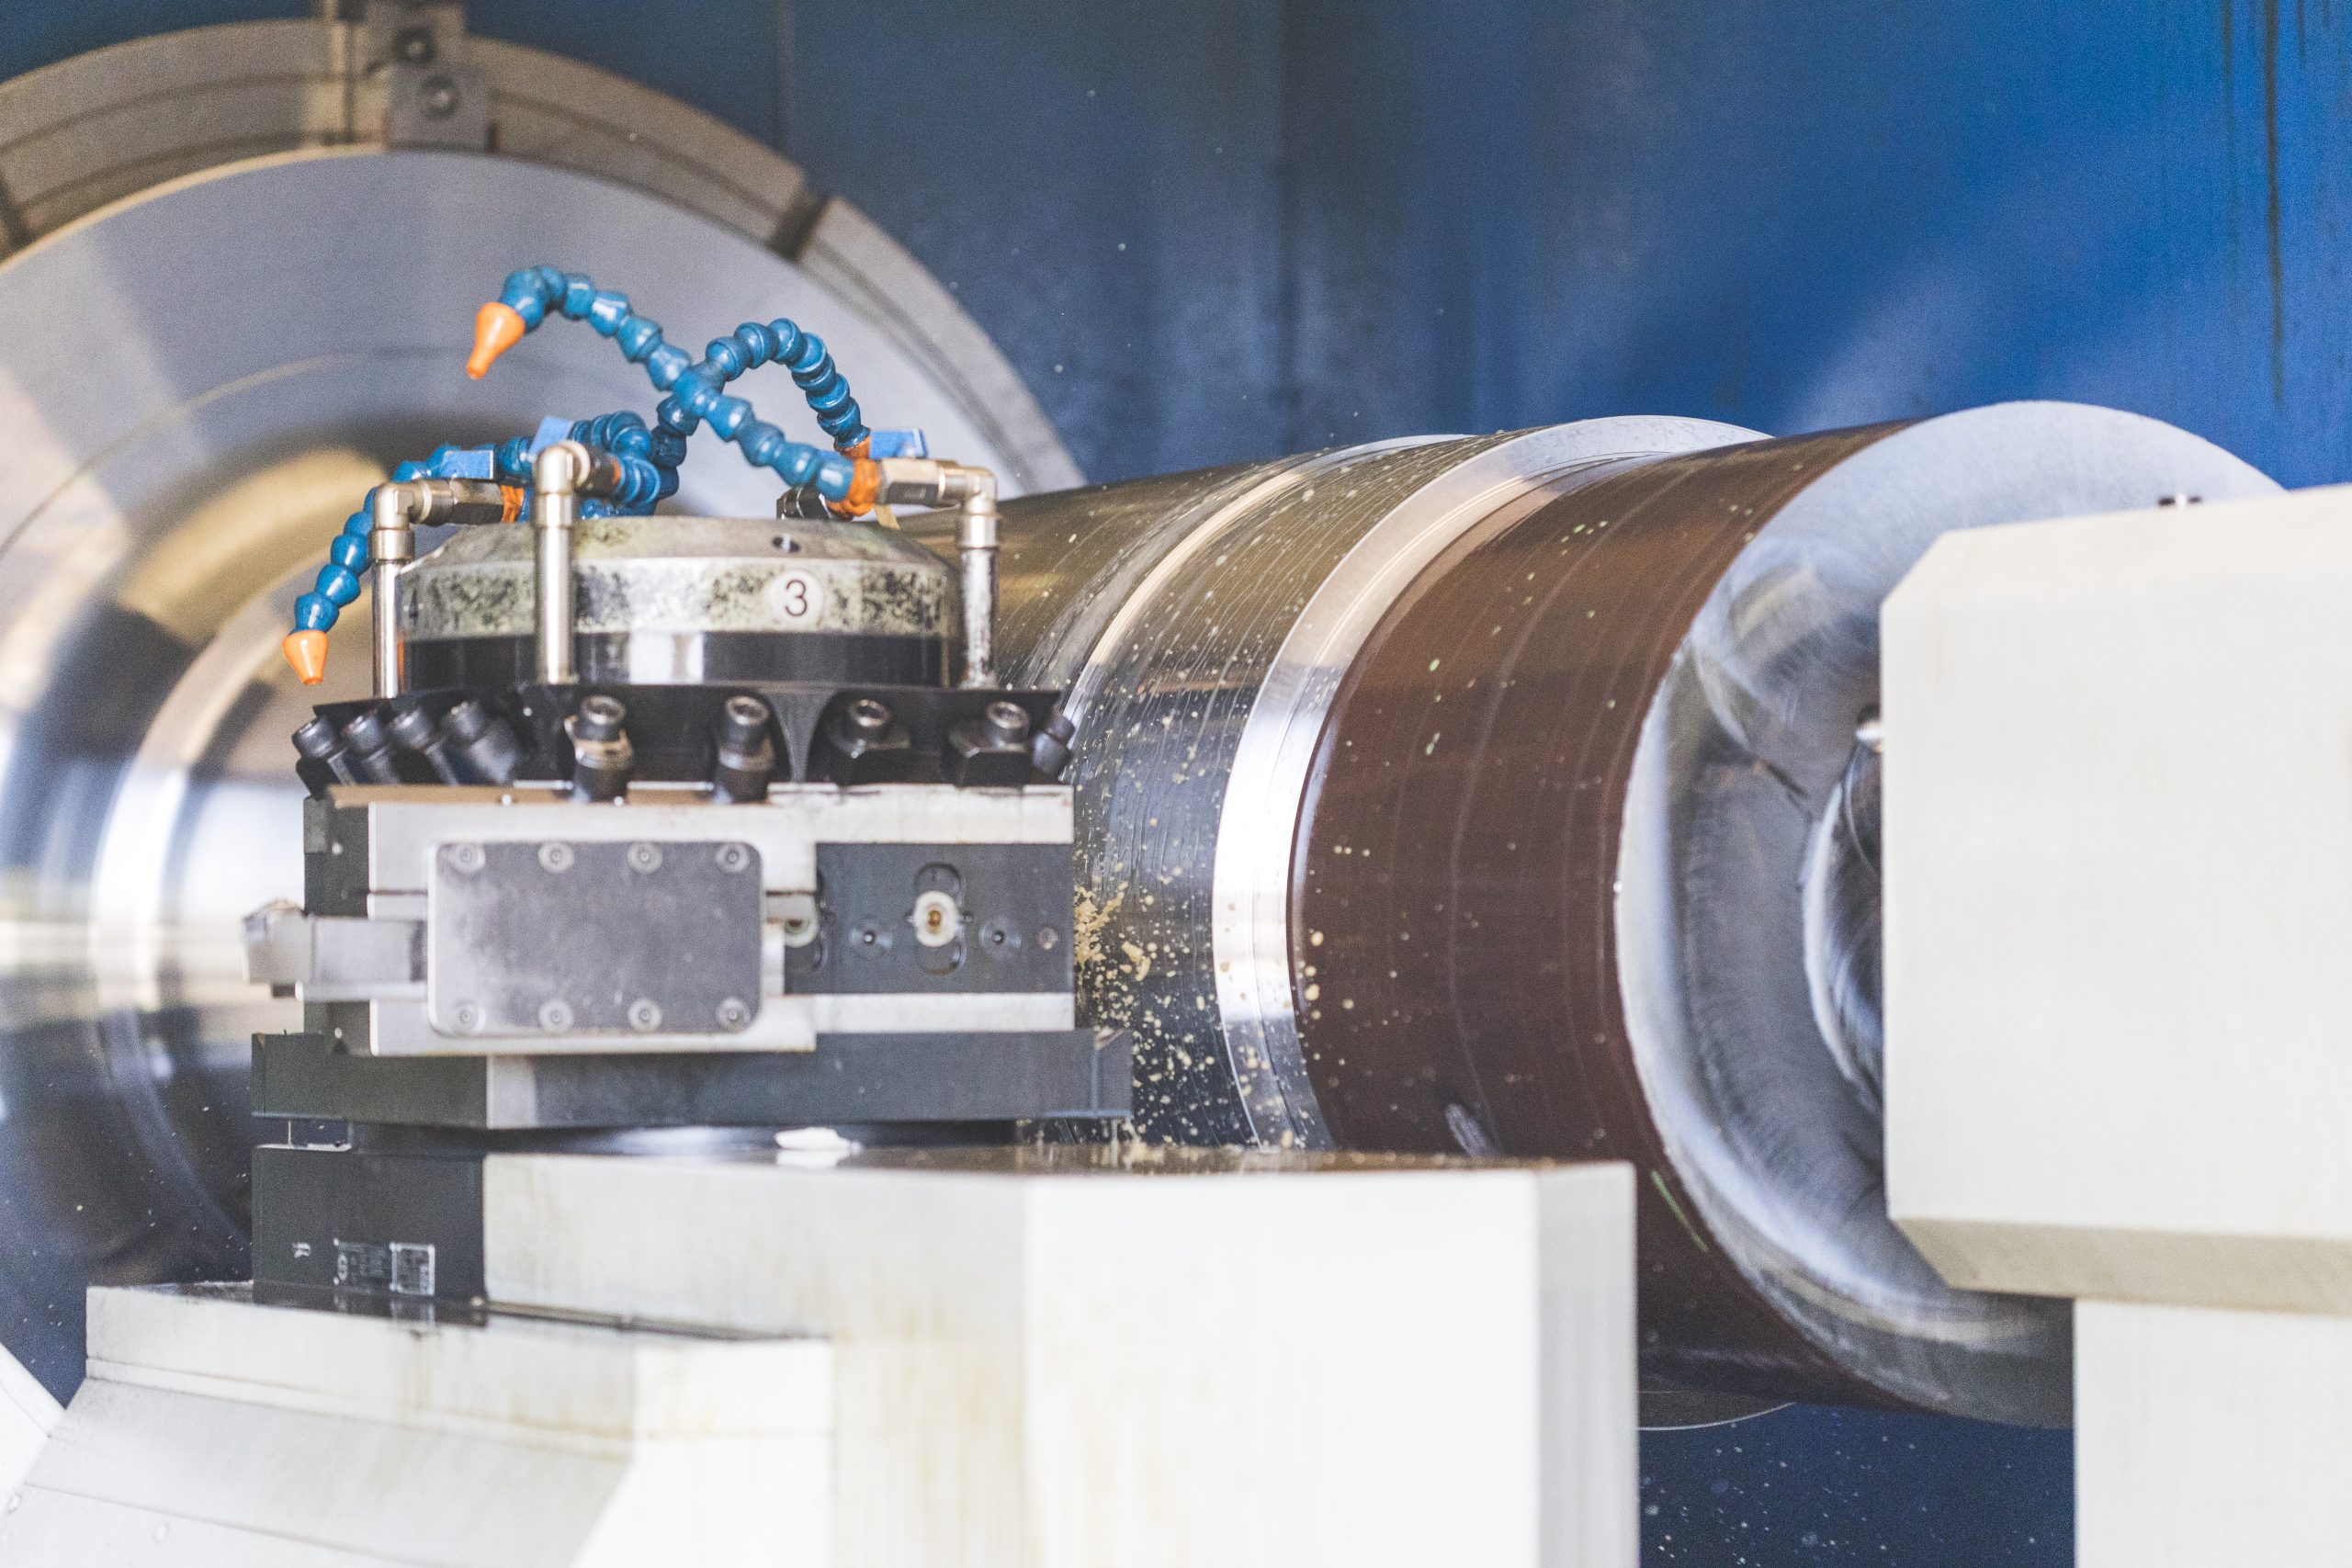
machining.
Our certifications
Quality department
Our product quality department also has specialists in NDT (UT, PT, MT, Vt) in accordance with the UNE-EN-9712:2012 standard. In Acebron Group we have obtained the ISO 9001:2015 and 14001:2015 certifications for all our manufacturing processes by Lloyd’s Register Quality Assurance Ltd.
Maximum and minimum capacities of our machines
Faro Laser Tracker Vantage | ||||
Distance Measurement Performance | ||||
Resolution | Sample Rate | Accuracy (MPE) | ||
| 0,5 µm | 10.000 points/sec | 16 µm + 8 µm/m | ||
Angle Measurement Performance | ||||
Angular Accuracy (MPE) | Maximum Angular Velocity | Precision Level Accuracy | ||
| 25 µm + 5 µm/5 | 180º/sec | (+- 2 arcseconds) | ||
Three – Dimensional Coordinate Measurement Equipment (DEA) | ||||
X | Y | Z | Accuracy | |
| 5.080 mm | 2.030 mm | 1.500 mm | 14+15 L/ 1000 µm | |
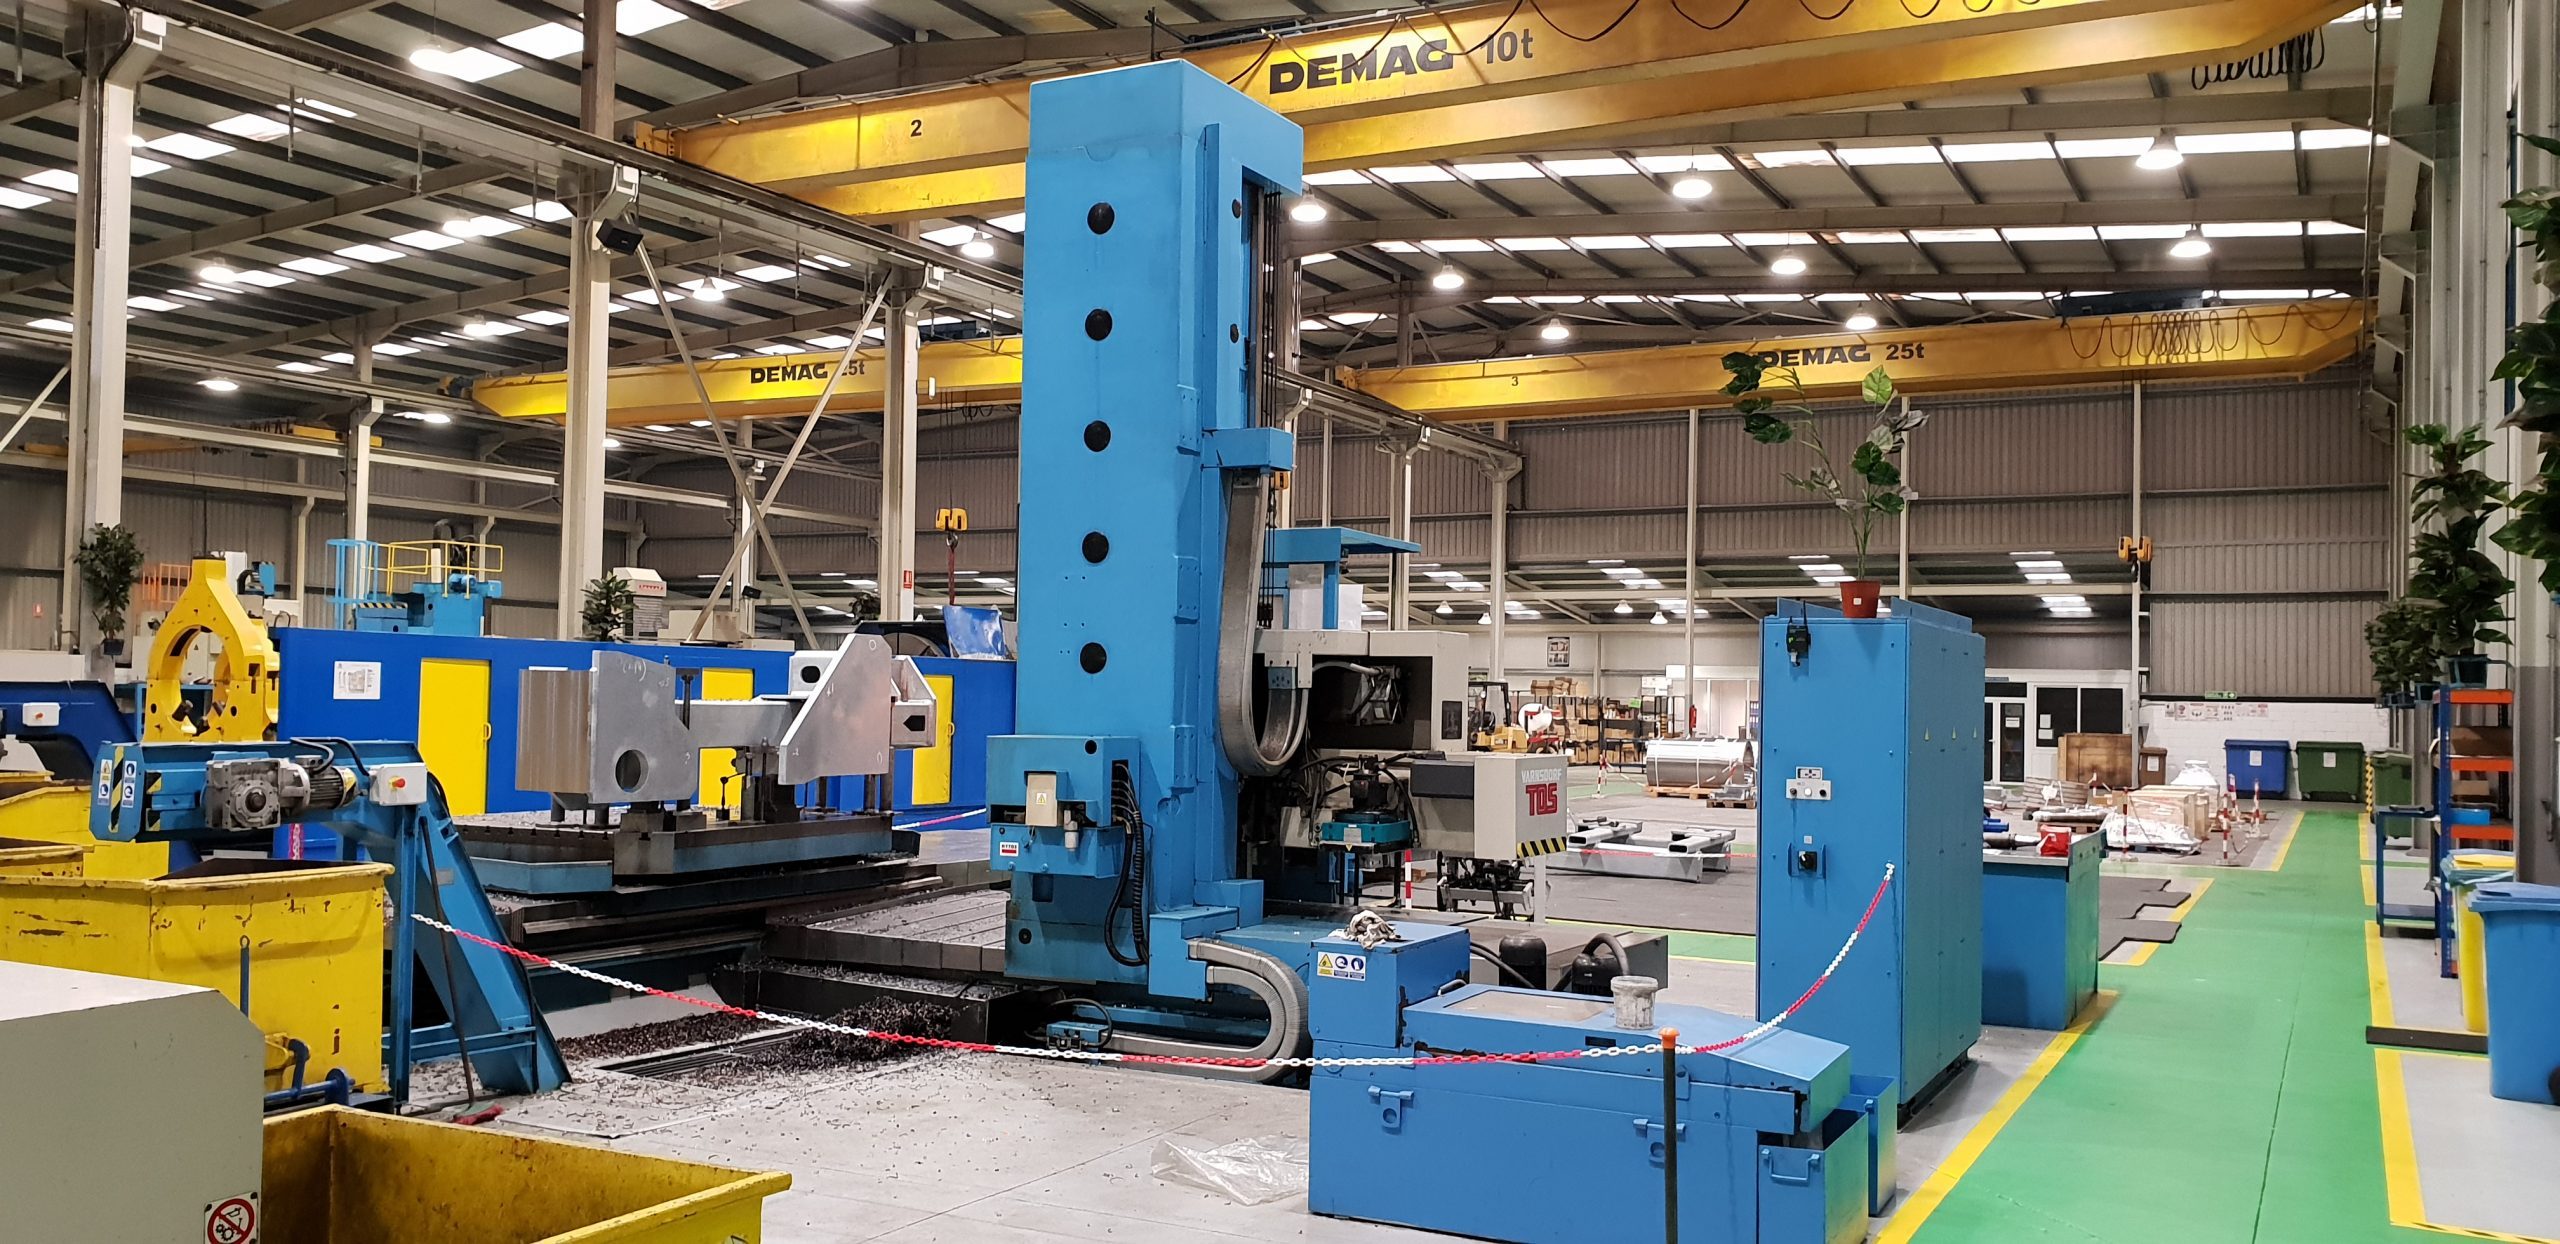
Milling Machine | ||||
|---|---|---|---|---|
X traverse | Y traverse | Z traverse | Max Weight | |
Min. | 2.000 mm | 900 mm | 900 mm | 10.00 Tn |
Máx. | 4.300 mm | 1.500 mm | 1.800 mm | 10.00 Tn |
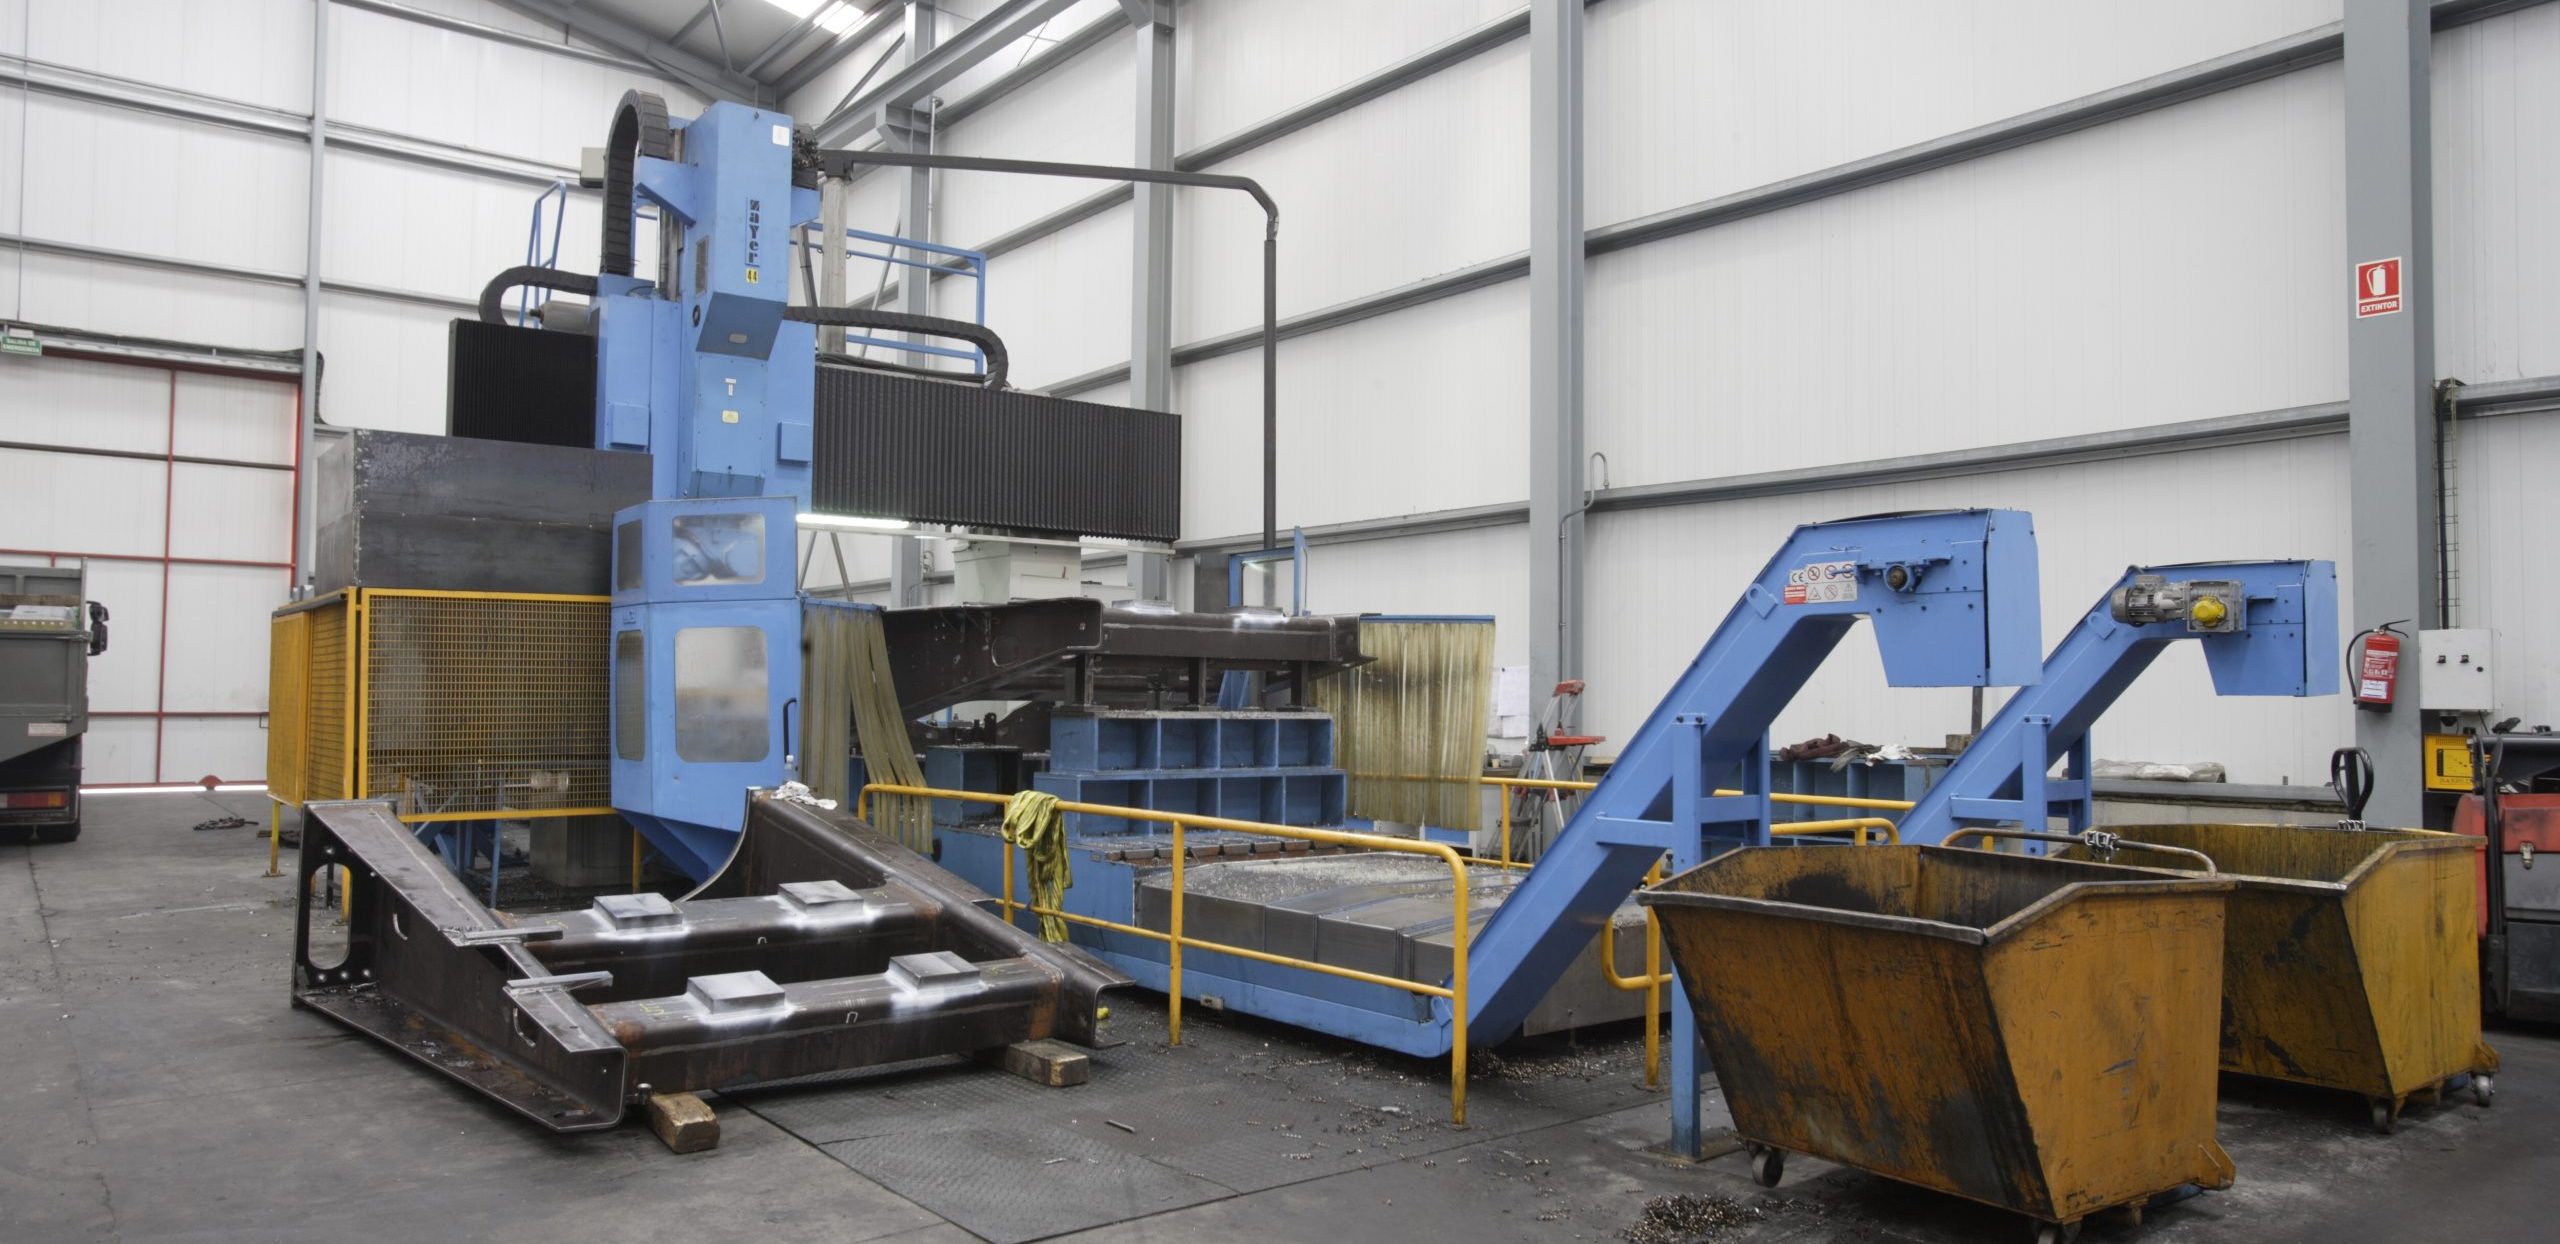
Bridge Milling Machine | ||||
|---|---|---|---|---|
X traverse | Y traverse | Z traverse | Max Weight | |
Máx. | 6.000 mm | 3.559 mm | Z traverse: 1.100 mm Bridge high: 2.800 mm | 10.00 Tn |
Boring Machine | ||||
|---|---|---|---|---|
X traverse | Y traverse | Z traverse | Max Weight | |
Mín. | 1.900 mm | 1.250 mm | Spindle stroke: 630 mm | On turning table: 12 |
Máx. | 14.000 mm | 4.000 mm | Ram travel: 1000 mm Spindle stroke: 800 mm | On turning table: 40 On fixed table: 80 |
Horizontal Lathe | ||||
|---|---|---|---|---|
Ø max | Max length | Max Weight | ||
Mín. | 1.900 mm | 1.250 mm | — | |
Máx. | 14.000 mm | 4.000 mm | 30.00Tn | |
Vertical Lathe | ||||
|---|---|---|---|---|
Ø max | Max length | Max Weight | ||
Mín. | 1.800 mm | Workplace high: 800 mm Ram travel: 480 mm | 12.00 Tn | |
Máx. | 11.000 mm | Workplace high: 3500 mm Ram travel: 1400 mm | 30.00 Tn | |
